iPhone 5 Antenna Repair Tools
There are some instruments you should have in order to disassemble your gadget and assemble it back. You’ll need to get the new WiFi antenna for your model, a five-point security screwdriver, a spudger tool and suction cup, #000 Phillips screwdriver and a flat head one, a razor blade and iSesamo opening tool.Replace WiFiAntenna iPhone 5 Walkthrough
Step 1. Before you start to fix antenna on the iPhone 5 you must backup your gadget (just in case) and turn it off. Step 2. The first thing to do now is to remove your smartphone’s front display assembly. There are 2 screws you have to take off using the security screwdriver. They are right in your handset’s bottom.
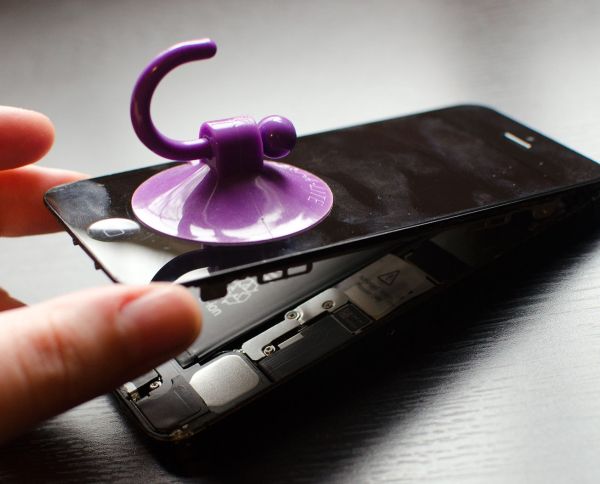
 Step 3. The bottom of the screen can be lifted a bit with the help of the suction cup. Place it above your Home button. Do not remove the front panel yet because there are cables that are connected at its top.
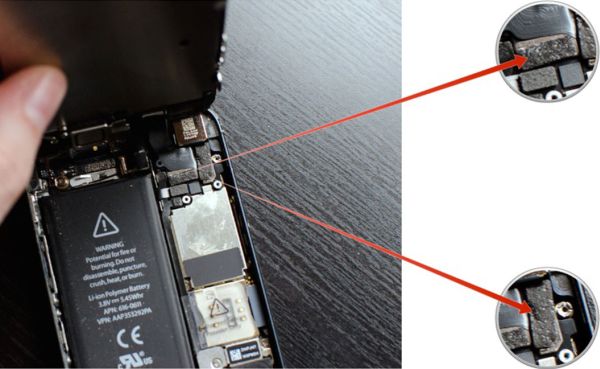
 Step 4. Now you can swing the panel up and take off the 3 screws using the Phillips screwdriver. The shield with cables can be reached now.
 Step 5. You can disconnect the 3 cables with the help of your spudger tool. At this point you can take the screen assembly away.
 Step 6. The battery has to be removed now. To begin this procedure, you are advised to unscrew 2 screws in the shield that covers it. Take the Phillips screwdriver to perform the operation.
 Step 7. You need to disconnect one connector with the help of the spudger.
 Step 8. Be careful while removing the battery. Take the iSesamo opening tool and insert it in the upper left corner of your iPhone 5 battery. Lift it upwards and move around its left side to the bottom. You should now be able to remove it.
 Step 9. The #000 screwdriver will help you to remove the screw on the shield that covers iPhone dock connector.
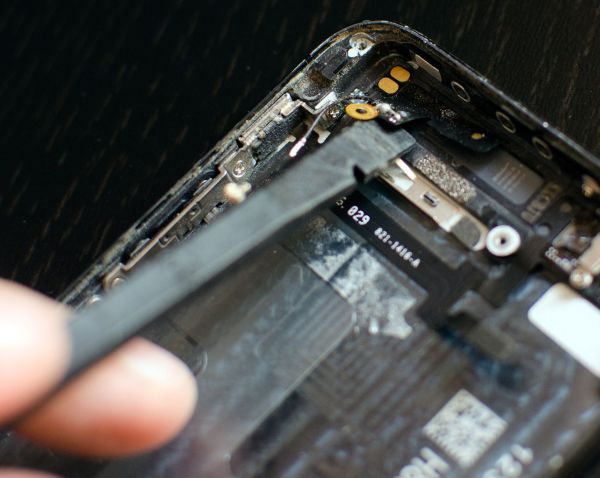
 Step 10. Use the spudger to pry up one cable and another one located on your logic board in order to remove this board later on.
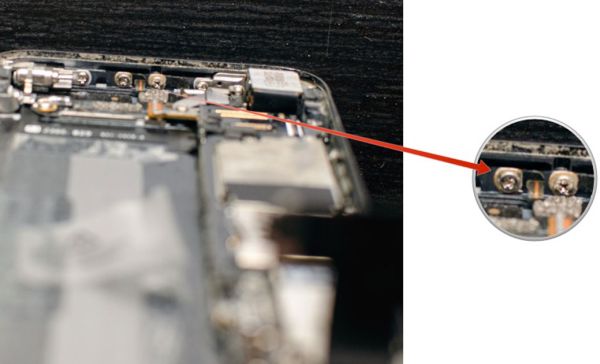
 Step 11. The Phillips screwdriver can remove the 2 screws on the board’s top. Take off the silver shield now.
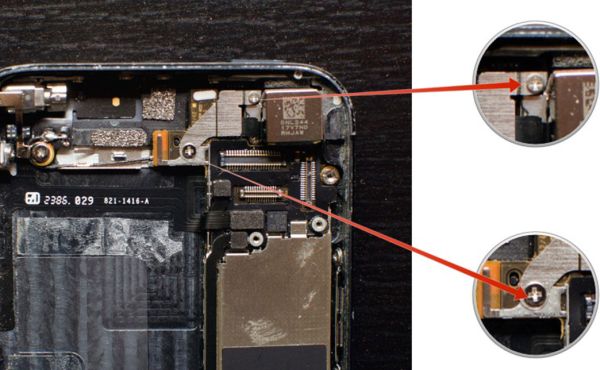 Step 12. The same screwdriver as in previous step can unscrew 2 screws on the iPhone 5 top frame.
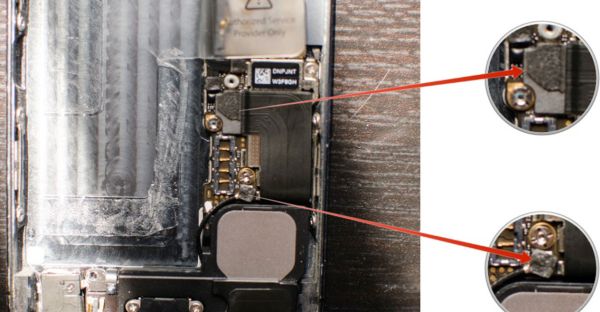
 Step 13. Take the spudger to disconnect 3 cables on your logic board’s top.
 Step 14. Take the flat head and Phillips screwdrivers and remove the 2 and 3 screws as displayed in the picture.
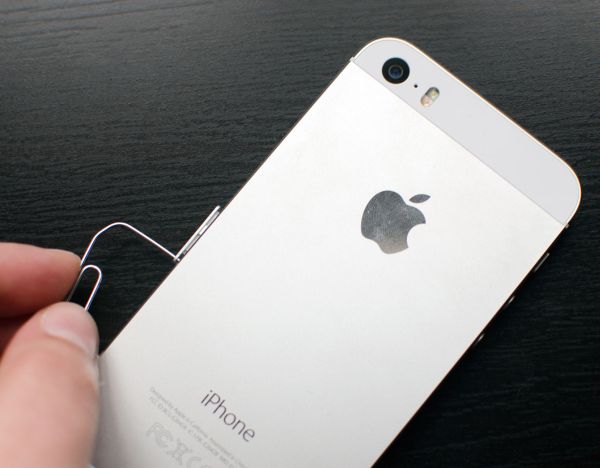
 Step 15. Take the SIM removal tool or a paperclip to take off your SIM tray.
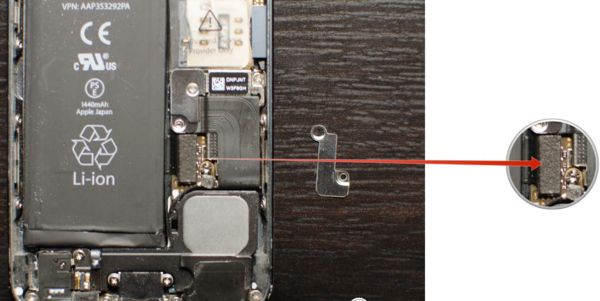
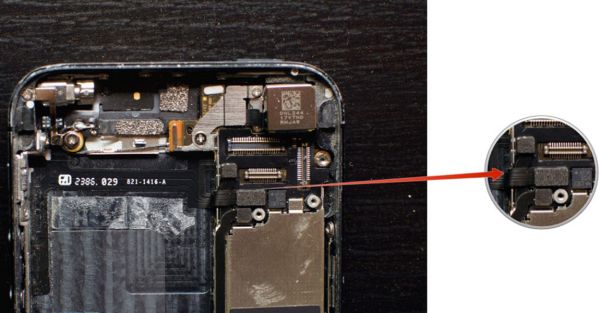
 Step 16. The logic board can be lifted up a bit. Be careful as you will see a cable [WiFi connector] that is attached to its top. You can disconnect it using the spudger tool.
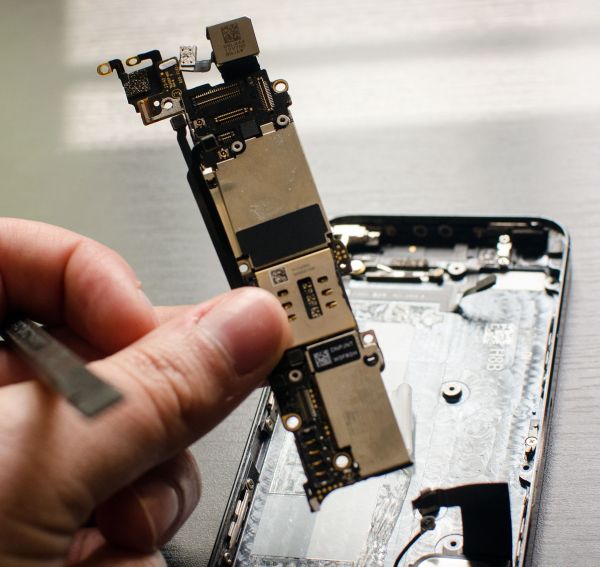
 Step 17. The logic board can be removed now.
 Step 18. The Phillips screwdriver can help you remove the 3 screws to free the vibrator part.
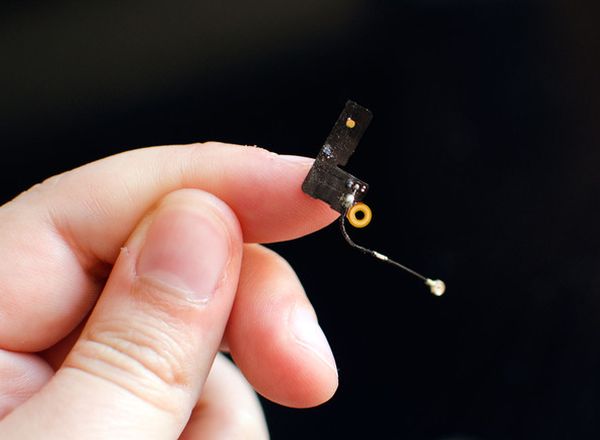
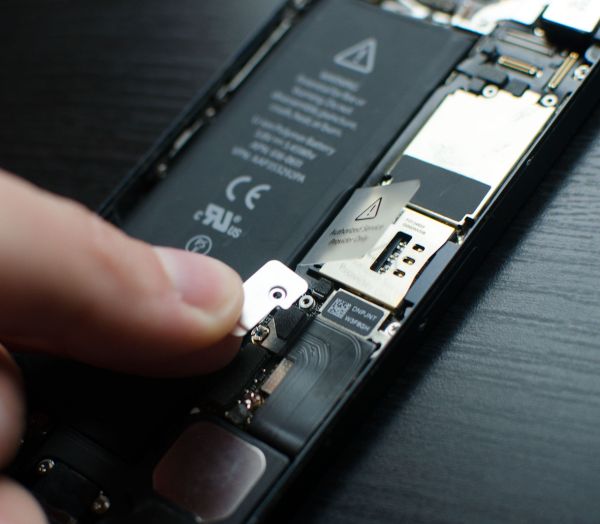
 Step 19. Take the new replacement WiFi antenna for your iPhone 5. Using the spudgertool you can pry up the old bad WiFi antenna and carefully change it to the new one.
 Step 20. You should now go through Steps 18-2 backwards to assemble your iPhone 5with WiFi antenna fix solution.
Hopefully, if you did everything carefully and attentively, your iPhone 5 antenna problem is gone.
Step 20. You should now go through Steps 18-2 backwards to assemble your iPhone 5with WiFi antenna fix solution.
Hopefully, if you did everything carefully and attentively, your iPhone 5 antenna problem is gone. Recent Blog
Ultimate Guide: How to turn Off Restricted Mode on iPhone?

Automate Apple GSX check result obtaining?
iRemove Unlock iPhone 5S, 5C, 5, SE, 4S/4 Software

MacOS High Sierra Features: Set Up Websites in Safari on Mac
How to Enable iOS 11 Mail Reply Notification on iPhone 7

How to Bypass Apple Watch Passcode Problem
LetsUnlock Services List
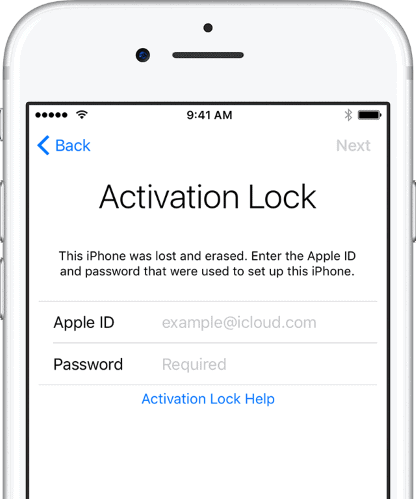
iPhone & iPad Activation Lock Bypass
Use LetsUnlock iCloud Tool to bypass Activation Lock Screen on iPhone and iPad running on iOS version up to 14.6.
Read More
Unlock Passcode Disabled iPhone or iPad
LetsUnlock iCloud Tool is ready to remove Find My and unlock your passcode disable device running on iOS 13.x.x in one click!
Read More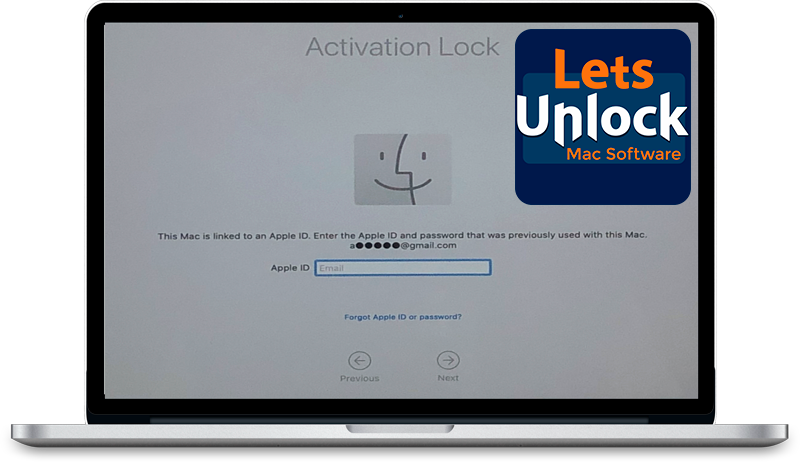
MacOS iCloud Activation Lock Bypass
The LetsUnlock Mac iCloud Activation Lock Bypass Tool will help you to remove Activation Lock on an iCloud locked Mac which is stuck on Activation Lock Screen with no need to enter the correct Apple ID and password.
Read More
Mac EFI Firmware Passcode Bypass
The LetsUnlock EFI Bypass Tool is a one button solution, which you click to start the EFI Unlock process. Bypass EFI with out password! Everything else does the software.
Read More
MacOS iCloud System PIN Bypass
The LetsUnlock MacOS iCloud System PIN Bypass Tool was designed to bypass iCloud PIN lock on macOS without passcode!
Read More