 There's a demo application in Sample directory. We will be elaborating it a little bit and discovering it as we proceed. But the problem rose as soon as we tried to run it. Some parameters of the project prevented it from being compiled in a new Xcode4 and we get an error about the wrong architecture. We need to go into project settings and just kill everything in the Architecture section, and then rebuild the project having only two parameters:
- Architectures - Standard (arms6, arms7)
- BaseSDK - Latest iOS (iOS 4.3)

/ / Your Facebook APP Id must be set before running this example
 / / See www.facebook.com/developers/createapp.php
 / / Also, your application must bind to the fb [app_id] :/ / URL
 / / Scheme (substitue [app_id] for your real Facebook app id).
 static NSString * kAppId = nil;
Replace nil with your application id. Do not forget that this is a string. Let's assume our id is 11111111111 static NSString * kAppId = @ "11111111111"; Go to the configuration file Resources / DemoApp-Info.plist and replace the value of fb [your-app-id] in the picture on our fb11111111111 - braces should not confuse you, enter the value without them!
 That's it! Now we have a fully working application. We can run it and explore what can it do. Immediately after the launch we can see a login message. After entering of email and password we can see a screen that asks us, if we allow this application to get access to our data. Click Allow, and find ourselves in a very minimalist program's design. Let's stop here to find out how it works.


 To begin with take a look at XIB file.
It is very simple - has only 5 buttons. When you run the application it only shows FBLoginButton - it is controlled by the same name in our class, which is added to the project. Let's look at the viewDidLoad method.
To begin with take a look at XIB file.
It is very simple - has only 5 buttons. When you run the application it only shows FBLoginButton - it is controlled by the same name in our class, which is added to the project. Let's look at the viewDidLoad method.
/**
 * Set initial view
 */
 (void)viewDidLoad {
 // инициализируем facebook
 _facebook = [[Facebook alloc] initWithAppId:kAppId];
 [self.label setText:@"Please log in"];
 // скрываем все кнопочки крочем логина
 _getUserInfoButton.hidden = YES;
 _getPublicInfoButton.hidden = YES;
 _publishButton.hidden = YES;
 _uploadPhotoButton.hidden = YES;
 _fbButton.isLoggedIn = NO;
 [_fbButton updateImage];
 }
Notice how easy it is now Facebook class object initialized - needs only application id and that's it.
_facebook = [[Facebook alloc] initWithAppId:kAppId];
by pressing the button the method is called:
/**
 * Called on a login/logout button click.
 */
 - (IBAction)fbButtonClick:(id)sender {
 if (_fbButton.isLoggedIn) {
 [self logout];
 } else {
 [self login];
 }
 }
And if we have not yet entered, then call the method:
/*** Show the authorization dialog.
 */
 - (void)login {
 [_facebook authorize:_permissions delegate:self];
 }
where _permissions - is a set of rights for the various steps in facebook. In our example we ask the initialization rights for our controller.
- (id)initWithNibName:(NSString *)nibNameOrNil bundle:(NSBundle *)nibBundleOrNil {
...
 _permissions = [[NSArray arrayWithObjects:
 @"read_stream", @"offline_access",nil] retain];
 }
...
 }
according to the documentation here, read_stream - a right to read the tape, and offline_access - the ability for your application to remain attached much longer. Without those access rights tokens will burn quickly. We return to this topic later. Incidentally, it was a confirmation of those rights we have sought, when we clicked Allow button higher. The second important point is that we have identified ourselves, our class (self) as a delegate and shall receive messages from the facebook object as they arrive. Another very important point is related to how well we are back in our application after the authorization process. Remember, we have entered some kind of parameters above in a Resources/DemoApp-Info.plist file. And if we look at the DemoAppAppDelegate.m file we see there is little method, which is responsible for returning to our application.
- (BOOL)application:(UIApplication *)application handleOpenURL:(NSURL *)url {
 return [[controller facebook] handleOpenURL:url];
 }
Thus, let's summarize. If you make an application from scratch, for the successful SDK maintenance you should definitely:
One. Specify the app ID in the code
Two. Specify the app ID in the parameter file of your application
Three. In your application's *AppDelegate.m - implement the method
- (BOOL)application:(UIApplication *)application handleOpenURL:(NSURL *)url {
 return [[controller facebook] handleOpenURL:url];
 }
Without the last two items you will not return to your application after the login window.
Depending on what you are returned to the application with, of the three methods that we have registered as a delegate is called.
/ *** Called if we have been successfully logged.
* /
 - (Void) fbDidLogin {
 [self.label setText: @ "logged in"];
 _getUserInfoButton.hidden = NO;
 _getPublicInfoButton.hidden = NO;
 _publishButton.hidden = NO;
 _uploadPhotoButton.hidden = NO;
 _fbButton.isLoggedIn = YES;
 [_fbButton updateImage];
 }
/ *** Called if we have refused authorization.
* /
 - (void) fbDidNotLogin: (BOOL) cancelled {
 NSLog (@ "did not login");
 }
/ *** Called when we did logout facebook.
* /
 - (Void) fbDidLogout {
 [self.label setText: @ "Please log in"];
 _getUserInfoButton.hidden = YES;
 _getPublicInfoButton.hidden = YES;
 _publishButton.hidden = YES;
 _uploadPhotoButton.hidden = YES;
 _fbButton.isLoggedIn = NO;
 [_fbButton updateImage];
 }
Since we have successfully logged in, all of our other buttons appear on the screen. You can learn what they are doing yourself, we'll get to them later. For example, the «Call Graph API» button will show you your name, and the «Call REST API» button you will find the name and surname of the person in id = 4, namely Mike Zuckerberg. Attempts to find out who is hiding under the id = 1 were not successful and the application crashed. So anyone can look into this matter yourself. And while the last paragraph was written I had to press the Login button at least a few times. So how can one avoid logging onto facebook again after it was made once? We'll figure this out. All the data we need to do this are values of two variables stored in NSUserDefaults. viewDidLoad will now look like this:
- (void)viewDidLoad {
 _facebook = [[Facebook alloc] initWithAppId:kAppId];
_facebook.accessToken = [[NSUserDefaults standardUserDefaults] stringForKey:@"AccessToken"];
 _facebook.expirationDate = (NSDate *) [[NSUserDefaults standardUserDefaults] objectForKey:@"ExpirationDate"];
if ([_facebook isSessionValid] == NO) {
 [self.label setText:@"Please log in"];
 _getUserInfoButton.hidden = YES;
 _getPublicInfoButton.hidden = YES;
 _publishButton.hidden = YES;
 _uploadPhotoButton.hidden = YES;
 _fbButton.isLoggedIn = NO;
 [_fbButton updateImage];
 } else {
 [self.label setText:@"logged in"];
 _getUserInfoButton.hidden = NO;
 _getPublicInfoButton.hidden = NO;
 _publishButton.hidden = NO;
 _uploadPhotoButton.hidden = NO;
 _fbButton.isLoggedIn = YES;
 [_fbButton updateImage];
 }
 }
we check whether (isSessionValid) session is valid with the parameters and accessToken expirationDate stored in our NSUserDefaults. If so, we have already logged in and able to carry out further actions.
we'll add to fbDidLogin fbDidLogout respectively
fbDidLogin - write parameters
[[NSUserDefaults standardUserDefaults] setObject:self.facebook.accessToken forKey:@"AccessToken"];
 [[NSUserDefaults standardUserDefaults] setObject:self.facebook.expirationDate forKey:@"ExpirationDate"];
fbDidLogout — null them
[[NSUserDefaults standardUserDefaults] setObject:nil forKey:@"AccessToken"];
 [[NSUserDefaults standardUserDefaults] setObject:nil forKey:@"ExpirationDate"];
Run application, pass the authorization process, check name - everything's excellent. Without logging out terminate the app and run it again - we're still on facebook - check your name - it works. Let me remind you this is the reason why we asked for the rights @ «offline_access». This draft version can be downloaded below. In conclusion of today's article, let's look at how the query and treatment assembly responses. Facebook aggressively asks us to use the GRAPH API, rather than the old REST API, which is still supported nevertheless. On this page we can see examples of using GRAPH API and see the output of information for you. The demo program uses the facebook search:
- (IBAction)getUserInfo:(id)sender {
 [_facebook requestWithGraphPath:@"me" andDelegate:self];
 }
for example, they show how the output will be at such a request: graph.facebook.com/btaylor
{
 «id»: «220439»,
 «name»: «Bret Taylor»,
 «first_name»: «Bret»,
 «last_name»: «Taylor»,
 «link»: «www.facebook.com/btaylor»,
 «username»: «btaylor»,
 «gender»: «male»,
 «locale»: «en_US»
 }
This means that we get NSDictionary as a response and we can get our full name on the key «name». After we sent the request and appointed a response receiver, we need to make the methods responsible for the response reception. This command is in charge for receiving unparsed (raw) response:
- (void)request:(FBRequest *)request didReceiveResponse:(NSURLResponse *)response {
 NSLog(@"received response");
 }
and disassembled answer gets:
- (void)request:(FBRequest *)request didLoad:(id)result {
 if ([result isKindOfClass:[NSArray class]]) {
 result = [result objectAtIndex:0];
 }
 if ([result objectForKey:@"owner"]) {
 [self.label setText:@"Photo upload Success"];
 } else {
 [self.label setText:[result objectForKey:@"name"]];
 }
 };
The answer (result) could be a number, string, array or dictionary. If the answer came immediately as NSArray - that means we got more than one answer and it is necessary to break them into individual responses. In this case, when we were asked to describe who we are (me), such a response comes in the NSDictionary and there is no key, owner and therefore this line appears:
[self.label setText:[result objectForKey:@"name"]];Let's complicate things. For example, I would like to receive information in the application that the user likes. Change the query according to the documentation:
- (IBAction)getUserInfo:(id)sender {
 [_facebook requestWithGraphPath:@"me/likes" andDelegate:self];
 }
If you look at the Facebook site output of this query, you will see that the answer will be - NSDictionary with only one data key. He will meet an array of NSDictionary c keys «name», «category», «id», «created_time». It is also important not to forget to add the requested right «user_likes», otherwise we will return in response to an empty NSDictionary!
To accept such an answer, we can rewrite our method:
- (void)request:(FBRequest *)request didLoad:(id)result {
 if ([result isKindOfClass:[NSArray class]]) {
 result = [result objectAtIndex:0];
 }
 if ([result objectForKey:@"owner"]) {
 [self.label setText:@"Photo upload Success"];
 } else if ([result objectForKey:@"data"]){
 NSArray *likes = [result objectForKey:@"data"];
 NSString *text=@"You don't like Steve";
 for (NSDictionary* mylike in likes) {
 NSString *mylikeName = [mylike objectForKey:@"name"];
 if ([mylikeName isEqualToString:@"Steve Jobs"]) {
 text=@"You like Steve";
 break;
 }
 }
 [self.label setText:text];
 }
 };
If we got an answer in the form of NSDictionary, and there is a key value «data» then we look through this array looking at each item and check if there are facebook pages, which the user likes, pages with the Steve Jobs name. In our case it was so, so that the application is answered me «You like Steve».
At this point I will stop now, although I would like to tell all the interesting options are there to create messages on the wall of the application. But apparently it will be next time.
Original project, but with amendments to the properties to run in Xcode4
Project with possibility of saving session
Project with altered request
Remember to put in your Apple IDs. Recent Blog
Ultimate Guide: How to turn Off Restricted Mode on iPhone?

Automate Apple GSX check result obtaining?
iRemove Unlock iPhone 5S, 5C, 5, SE, 4S/4 Software

MacOS High Sierra Features: Set Up Websites in Safari on Mac
How to Enable iOS 11 Mail Reply Notification on iPhone 7

How to Bypass Apple Watch Passcode Problem
LetsUnlock Services List
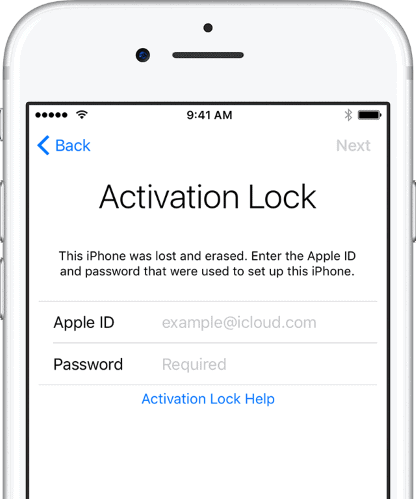
iPhone & iPad Activation Lock Bypass
Use LetsUnlock iCloud Tool to bypass Activation Lock Screen on iPhone and iPad running on iOS version up to 14.6.
Read More
Unlock Passcode Disabled iPhone or iPad
LetsUnlock iCloud Tool is ready to remove Find My and unlock your passcode disable device running on iOS 13.x.x in one click!
Read More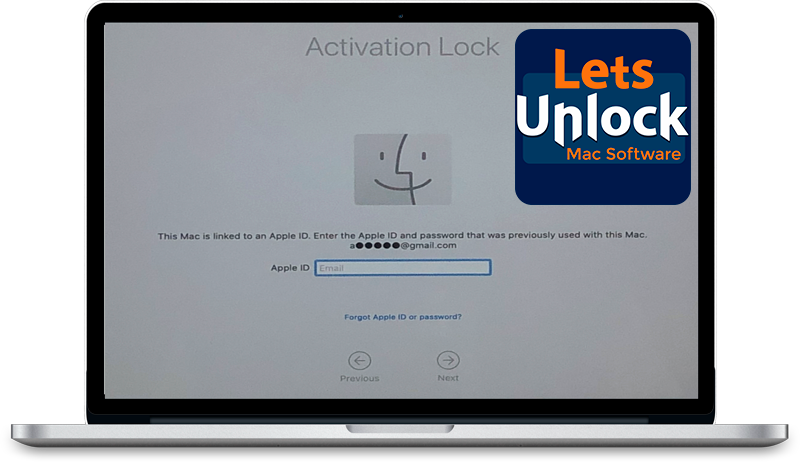
MacOS iCloud Activation Lock Bypass
The LetsUnlock Mac iCloud Activation Lock Bypass Tool will help you to remove Activation Lock on an iCloud locked Mac which is stuck on Activation Lock Screen with no need to enter the correct Apple ID and password.
Read More
Mac EFI Firmware Passcode Bypass
The LetsUnlock EFI Bypass Tool is a one button solution, which you click to start the EFI Unlock process. Bypass EFI with out password! Everything else does the software.
Read More
MacOS iCloud System PIN Bypass
The LetsUnlock MacOS iCloud System PIN Bypass Tool was designed to bypass iCloud PIN lock on macOS without passcode!
Read More