- Mac computer
- iPhone running iOS 5.0 or later
- Enabled Photo Stream on Mac and iOS
- Configured iCloud on Mac and iOS devices
- Internet connection
How to Transfer Photos From iPhone to Mac
Step 1. Go to the section "Photos" in Settings and enable Photo Stream on iPhone. Step 2. Do the same on Mac - System Preferences - iCloud - Photo Stream. Step 3. Press Command+ Shift+G on your Mac computer to bring up Go to Folder and enter this:~/Library/Application Support/iLifeAssetManagement/assets/sub/Step 4. In the sub folder will see your photos. In the search bar (upper right corner) search for Image and select Kind:Image. Step 5. Now we have to do two things - to press the Save button and add the saved search in the sidebar. That's it. Now you'll have quick access to photos and screenshots made on the iPhone. I like this solution because it does not need to install and run iPhoto, to copy the image for editing in Pixelmator. Now you know how to transfer iPhone photos to Mac using iCloud so share this info using share buttons below. Also you can use comment section to ask the question regarding some problems.
Recent Blog
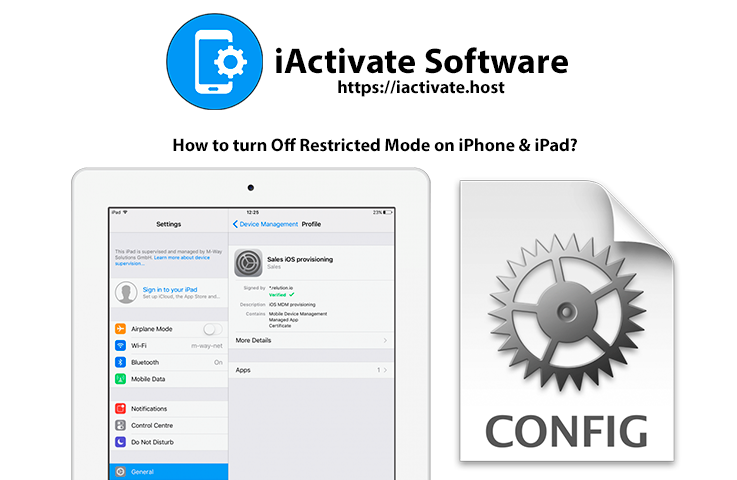
Ultimate Guide: How to turn Off Restricted Mode on iPhone?

Automate Apple GSX check result obtaining?
iRemove Unlock iPhone 5S, 5C, 5, SE, 4S/4 Software
MacOS High Sierra Features: Set Up Websites in Safari on Mac

How to Enable iOS 11 Mail Reply Notification on iPhone 7

How to Bypass Apple Watch Passcode Problem
LetsUnlock Services List
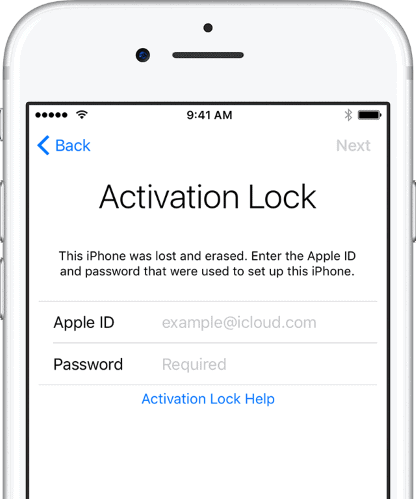
iPhone & iPad Activation Lock Bypass
Use LetsUnlock iCloud Tool to bypass Activation Lock Screen on iPhone and iPad running on iOS version up to 14.6.
Read More
Unlock Passcode Disabled iPhone or iPad
LetsUnlock iCloud Tool is ready to remove Find My and unlock your passcode disable device running on iOS 13.x.x in one click!
Read More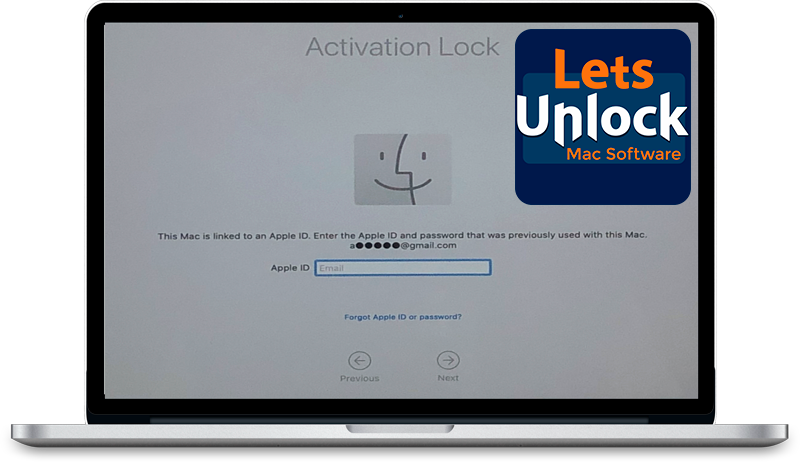
MacOS iCloud Activation Lock Bypass
The LetsUnlock Mac iCloud Activation Lock Bypass Tool will help you to remove Activation Lock on an iCloud locked Mac which is stuck on Activation Lock Screen with no need to enter the correct Apple ID and password.
Read More
Mac EFI Firmware Passcode Bypass
The LetsUnlock EFI Bypass Tool is a one button solution, which you click to start the EFI Unlock process. Bypass EFI with out password! Everything else does the software.
Read More
MacOS iCloud System PIN Bypass
The LetsUnlock MacOS iCloud System PIN Bypass Tool was designed to bypass iCloud PIN lock on macOS without passcode!
Read More