If you have an iPhone 5 that doesn’t charge because the iPhone 5 charger port is not working, you can fix this problem yourself. Maybe the port’s pin is broken or liquid caused this issue. There is no need to buy a new smartphone when you are able to fix your broken iPhone charger port using this DIY instruction.
It might look difficult how you can replace  and fix your dock connector on iPhone 5S, but this method saves your money so it is worth trying. Users who are worried about their warranty should take the cell phone to Apple retail store to officially repair it. Users who don’t care about Apple warranty can replace their dock connector on iPhone 5 on their own.
iPhone 5 Charger Port Repair Instruction
You need to have the following parts to fix the problem: a new dock connector, a 5-point security screwdriver, a suction cup, a spudger, a razor blade, standard Phillips screwdriver [#000] and iSesamo opening tool.
Step 1. Preparation
When the charger port on iPhone 5 is broken, you should firstly turn off your iDevice.
Step 2. Remove Your Display
This should be done in several steps. Firstly, you need to remove 2 screw in the smartphone’s bottom using the security screwdriver. Be gentle while pulling up the bottom portion of your screen by placing the suction cup above your Home button. 
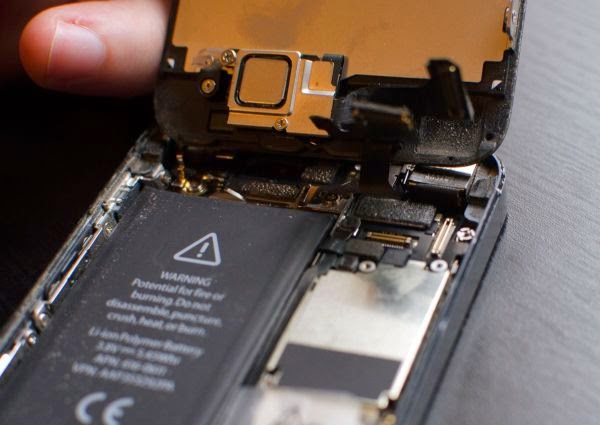
Secondly, take the 3 screws out that are located in the shield using your #000 screwdriver. Thirdly, use the spudger to separate the display from the 3 cables.
Step 3. Take Out Your Battery
Take the #000 screwdriver and unscrew 2 screws on the shield that covers iPhone 5 battery connector. Pry this connector with the spudger and be gentle now. 
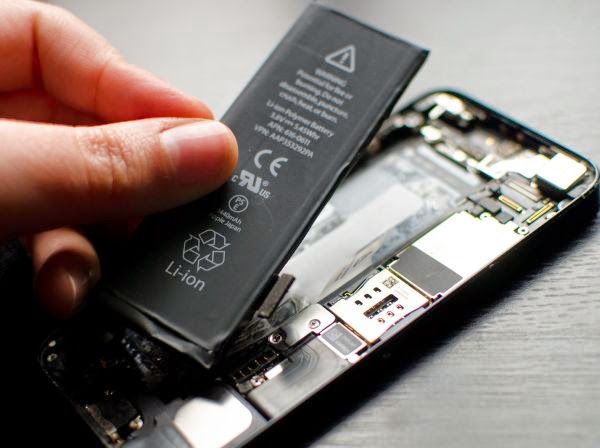
Take the iSesamo opening tool and carefully lift the battery upwards beginning from the top left corner and proceeding in the opening between your battery and iPhone body. Move the tool along the left side and pry battery upwards. Remove it. 
 
 
Step 4. Remove Your Dock Connector shield
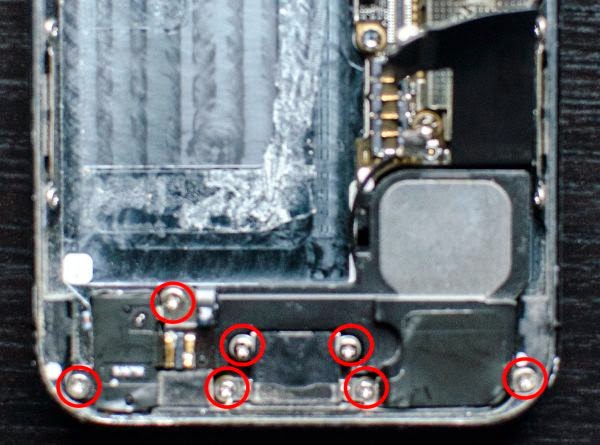
Take the #000 screwdriver and remove the screw that connects the Lightning dock connector shield. The spudger will help you to pry up that cable and another cable. The screwdriver can help to remove 7 screws to remove the dock. Be gentle with cables [underneath dock] to not tear them apart don’t break your rear casing with headphone jack. 
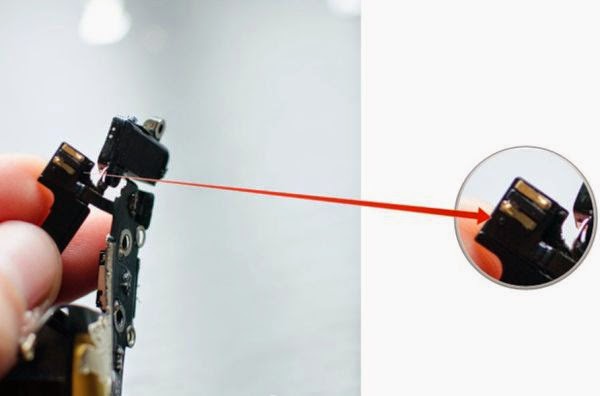
To slide your loud speaker you can use spudger in between loud speaker and a cable. Remove all the cables and carefully free the dock assembly. 
You should also carefully disconnect the cable that connects your loud speaker to the dock assembly.
Step 5. iPhone 5 Fix for Charging Port
Take the new charger port [dock connector] and place the loud speaker part on it.
Step 6. Assemble Dock Connector Part
Check that all the rubber gaskets and silver rings are back into place. Use the #000 screwdriver to carefully locate the 3 screws on the iPhone 5 Lightning dock. Line it up perfectly before doing this. It is best to secure beginning from left and going to the right side. Replace the screws you took away and carefully position all the cables back into place.
Step 7. Assemble iPhone 5
You should now repeat Step 4, 3, 2 and 1. When you carefully screwed all the screws back in place, located cables and connected them to the dock, you can test your iPhone 5. Turn it on and connect to your wall charger. Connect the smartphone to iTunes to make sure the program recognizes it.