
How to Access Downloaded Music on iPhone [Only]
Actually the only thing you should do is update iOS 10 Music app [learn how to disable Siri on iOS 10.2 version]. It is quick and easy to show only downloaded music iPhone once you install Apple’s newest mobile operating platform. The company added some changes and you can take advantage of them. Step 1. To enjoy your iPhone music tricks you need to double check that you have downloaded iOS 10 ipsw and installed this firmware version. Step 2. Launch your Music app. Step 3. Take a look at the lower left part of the screen. Is Library tab chosen or not? Make sure it is selected.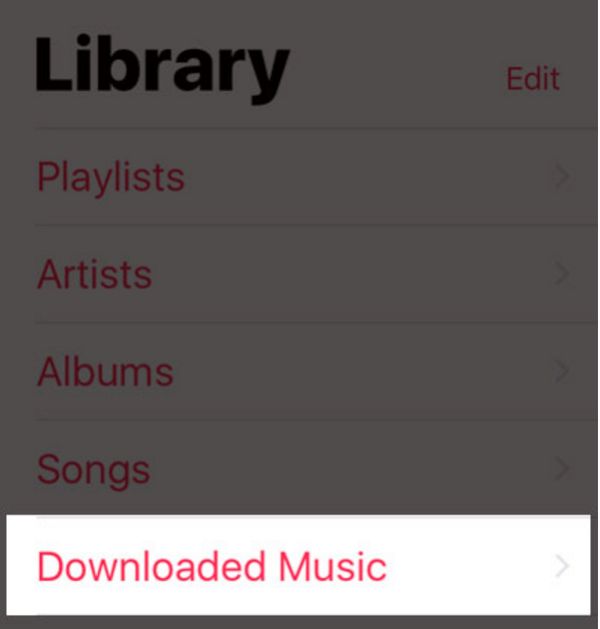 Step 4. There should be Downloaded Music menu. Click on it.
Step 5. That’s pretty much it. You can see all the music located on your iDevice.
Sometimes you have problems with iPhone music download and are unable to view all the songs you have downloaded.
iPhone Music Tips: Bring Downloaded Music Option Back
Step 1. Launch your Music program on iPhone or iPad (the same guide works on tablet devices as well).
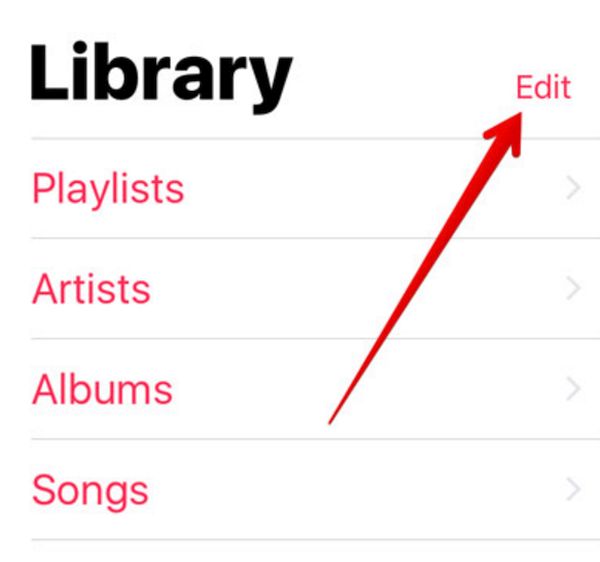
Step 2. The Library tab needs to be selected.
Step 3. Click on Edit option found at the upper right part of the screen.
Step 4. There should be Downloaded Music menu. Click on it.
Step 5. That’s pretty much it. You can see all the music located on your iDevice.
Sometimes you have problems with iPhone music download and are unable to view all the songs you have downloaded.
iPhone Music Tips: Bring Downloaded Music Option Back
Step 1. Launch your Music program on iPhone or iPad (the same guide works on tablet devices as well).
Step 2. The Library tab needs to be selected.
Step 3. Click on Edit option found at the upper right part of the screen.
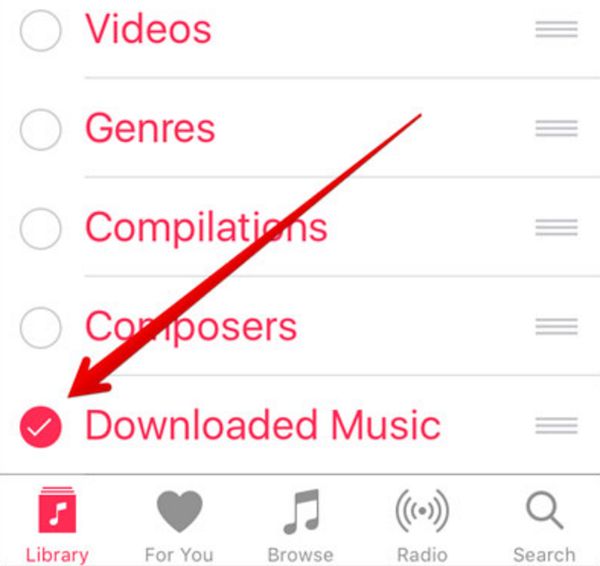
 Step 4. Select the Downloaded Music feature (can be found at the lower part of your iDevice screen) if it’s not selected yet.
Step 5. Choose ‘Done’ and your Downloaded Music section will appear under Library.
Let’s continue our iOS 10 tips with an instruction on how you can remove music from iTunes. Users with Mac and PC can delete Apple Music from the popular desktop application. There is no need to unsubscribe from music server which is great. This solution is temporary.
Step 4. Select the Downloaded Music feature (can be found at the lower part of your iDevice screen) if it’s not selected yet.
Step 5. Choose ‘Done’ and your Downloaded Music section will appear under Library.
Let’s continue our iOS 10 tips with an instruction on how you can remove music from iTunes. Users with Mac and PC can delete Apple Music from the popular desktop application. There is no need to unsubscribe from music server which is great. This solution is temporary.
How to Delete Apple Music from iTunes on Mac
Step 1. Launch iTunes on your ‘fruit’ computer. Step 2. Select iTunes menu and go to Preferences. Step 3. Choose Restrictions and check ‘Apple Music’ box and ‘Connect’ box. That’s it. You can now use iCloud music library instead if you want to. P.S. A lot of users come across unpleasant iTunes errors. You can easily fix iTunes error 9006 if you ever face it while updating your mobile gadget.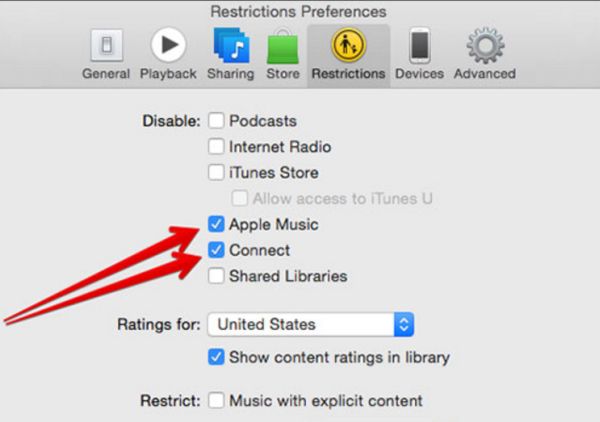 How to Remove Apple Music from iTunes on PC
Step 1. Launch iTunes program on your Windows computer.
Step 2. Choose ‘Edit’ option you can findon the upper menu.
Step 3. Select Preferences – Parental option.
Step 4. Press on Apple Music Connect box. You’ll check it.
Now the music won’t be displayed on your computer.
How to Remove Apple Music from iTunes on PC
Step 1. Launch iTunes program on your Windows computer.
Step 2. Choose ‘Edit’ option you can findon the upper menu.
Step 3. Select Preferences – Parental option.
Step 4. Press on Apple Music Connect box. You’ll check it.
Now the music won’t be displayed on your computer. Recent Blog
Ultimate Guide: How to turn Off Restricted Mode on iPhone?

Automate Apple GSX check result obtaining?
iRemove Unlock iPhone 5S, 5C, 5, SE, 4S/4 Software

MacOS High Sierra Features: Set Up Websites in Safari on Mac
How to Enable iOS 11 Mail Reply Notification on iPhone 7

How to Bypass Apple Watch Passcode Problem
LetsUnlock Services List
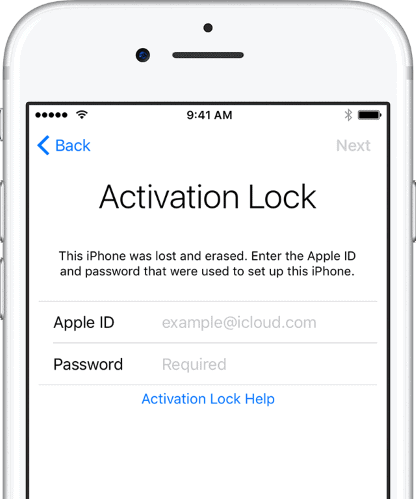
iPhone & iPad Activation Lock Bypass
Use LetsUnlock iCloud Tool to bypass Activation Lock Screen on iPhone and iPad running on iOS version up to 14.6.
Read More
Unlock Passcode Disabled iPhone or iPad
LetsUnlock iCloud Tool is ready to remove Find My and unlock your passcode disable device running on iOS 13.x.x in one click!
Read More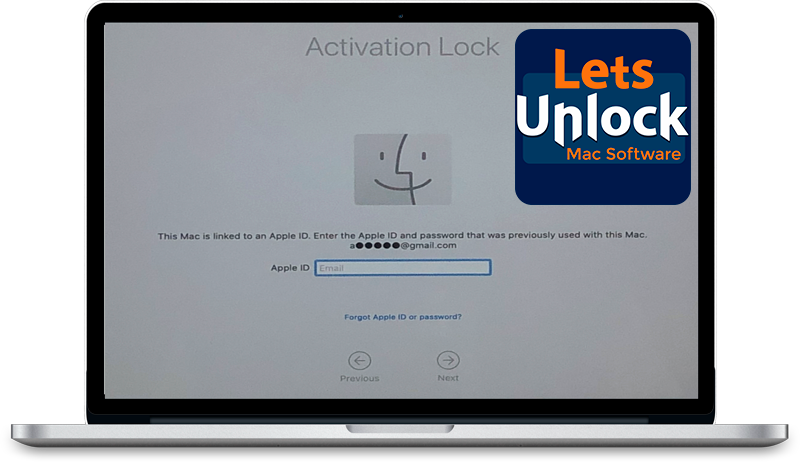
MacOS iCloud Activation Lock Bypass
The LetsUnlock Mac iCloud Activation Lock Bypass Tool will help you to remove Activation Lock on an iCloud locked Mac which is stuck on Activation Lock Screen with no need to enter the correct Apple ID and password.
Read More
Mac EFI Firmware Passcode Bypass
The LetsUnlock EFI Bypass Tool is a one button solution, which you click to start the EFI Unlock process. Bypass EFI with out password! Everything else does the software.
Read More
MacOS iCloud System PIN Bypass
The LetsUnlock MacOS iCloud System PIN Bypass Tool was designed to bypass iCloud PIN lock on macOS without passcode!
Read More