 iPhone 7 Video Streaming App: Hype
Hype is a pretty new addition to the huge collection of cool iOS 10 features and apps. It still differs from many similar programs. For example, users are able to add not only videos and photos, but also music, emojis and text while broadcasting.
It is even possible to turn your slideshow into iPhone 7 live video. Doesn’t it sound outstanding?
Besides, this is a no-cost solution. It offers some customization features and supports not only iOS 10 iPhones, but also iOS 9 and iOS 8 devices.
iPhone 7 Video Streaming App: Hype
Hype is a pretty new addition to the huge collection of cool iOS 10 features and apps. It still differs from many similar programs. For example, users are able to add not only videos and photos, but also music, emojis and text while broadcasting.
It is even possible to turn your slideshow into iPhone 7 live video. Doesn’t it sound outstanding?
Besides, this is a no-cost solution. It offers some customization features and supports not only iOS 10 iPhones, but also iOS 9 and iOS 8 devices.

How to Stream Video on iPhone
Step 1. Download Hype from iTunes or App Store (it is completely free). Step 2. Install the program. Step 3. Sign up with your new free tool from your mobile device. Use Facebook, email or your Twitter account to sign up. Step 4. The program wants to send your notifications. You’ll have to allow this option. Now let’s learn how to live stream video on iPhone using Hype application: Step 5. You can launch Hype once you sign up. Step 6. Click on the Plus option which is located at the bottom of the screen. Step 7. To support iPhone live video you need to allow the program accessing your Music, Camera, Microphone and Camera Roll. Otherwise nothing will happen. Step 8. There is Go Live option in the upper left part of the screen. Click on it to proceed. Step 9. Give a name to your new hype. Step 10. You are almost there and your iPhone 7 video stream is about to begin. Press on ‘Done’ and be creative. Step 11. If you want to add a message when you stream live video from iPhone you should click on the message option [at the lower left part of the screen] and type your message. Step 12. Sometimes you wish to know how many people are watching your live video. Check it by pressing on your Profile – X – confirm ‘Yes’ when popups appear. Step 13. To add videos or images you should click on the Plus option – choose the file from your Camera Roll and enjoy it. Similar thing can be done with Music and Text. [It is easy to hide and unhide iOS 10 photos]. Step 14. To add a slideshow to your hype you should click on the Plus while streaming your video and choose the videos that should become your slideshows. Now press on the tick mark and you’ll be able to adjust the slideshow size. If you change your mind and want to delete some videos you need to click on Delete option at the bottom. Once you have checked all the files included [use the Forward / Backward option] you should press on your screen. You can subscribe to others via Hype – Subscriptions and check who is online right now by going to Hype – Live Now.
Sometimes you like the video you are currently watching. Want to share it? Here is how sharing is working: click on Share option [at the bottom] – choose the medium for sharing. That’s it.
The program shows the most popular videos in Popular Today menu.
Customize Your Account
Hype allows users customizing their avatar:
Step 1. Go to Hype on iPhone.
Step 2. Go on your profile section.
Step 3. Click on the ‘gear’ and choose to Change Avatar.
Step 4. You can select an image or photo from your Camera Roll and use it as your new Avatar.
Step 5. You can also take a new photograph of yourself and make it the Avatar.
Step 6. When you wish to delete your profile picture you can simply click on Delete Avatar option.
Now you have learned how to work with the tool. If you want to logout from it simply launch Hype – profile – gear – Logout.
You can subscribe to others via Hype – Subscriptions and check who is online right now by going to Hype – Live Now.
Sometimes you like the video you are currently watching. Want to share it? Here is how sharing is working: click on Share option [at the bottom] – choose the medium for sharing. That’s it.
The program shows the most popular videos in Popular Today menu.
Customize Your Account
Hype allows users customizing their avatar:
Step 1. Go to Hype on iPhone.
Step 2. Go on your profile section.
Step 3. Click on the ‘gear’ and choose to Change Avatar.
Step 4. You can select an image or photo from your Camera Roll and use it as your new Avatar.
Step 5. You can also take a new photograph of yourself and make it the Avatar.
Step 6. When you wish to delete your profile picture you can simply click on Delete Avatar option.
Now you have learned how to work with the tool. If you want to logout from it simply launch Hype – profile – gear – Logout. Recent Blog
Ultimate Guide: How to turn Off Restricted Mode on iPhone?

Automate Apple GSX check result obtaining?
iRemove Unlock iPhone 5S, 5C, 5, SE, 4S/4 Software

MacOS High Sierra Features: Set Up Websites in Safari on Mac
How to Enable iOS 11 Mail Reply Notification on iPhone 7

How to Bypass Apple Watch Passcode Problem
LetsUnlock Services List
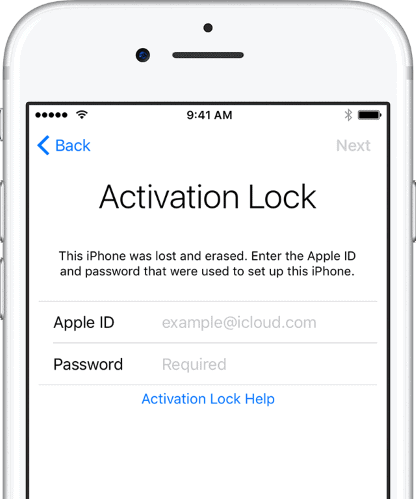
iPhone & iPad Activation Lock Bypass
Use LetsUnlock iCloud Tool to bypass Activation Lock Screen on iPhone and iPad running on iOS version up to 14.6.
Read More
Unlock Passcode Disabled iPhone or iPad
LetsUnlock iCloud Tool is ready to remove Find My and unlock your passcode disable device running on iOS 13.x.x in one click!
Read More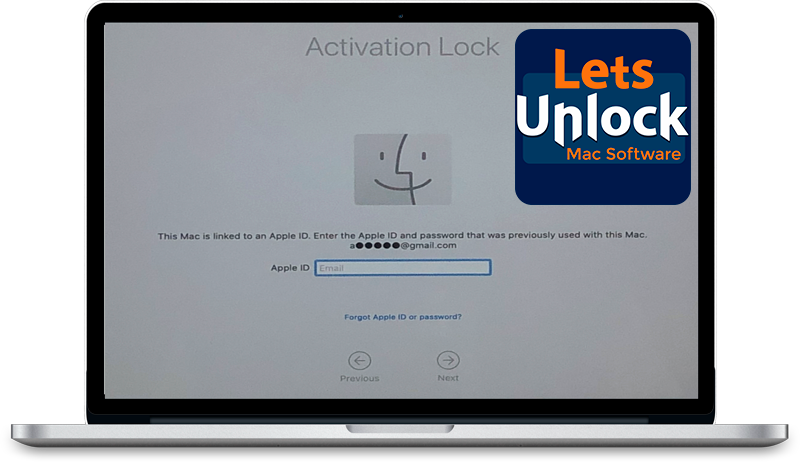
MacOS iCloud Activation Lock Bypass
The LetsUnlock Mac iCloud Activation Lock Bypass Tool will help you to remove Activation Lock on an iCloud locked Mac which is stuck on Activation Lock Screen with no need to enter the correct Apple ID and password.
Read More
Mac EFI Firmware Passcode Bypass
The LetsUnlock EFI Bypass Tool is a one button solution, which you click to start the EFI Unlock process. Bypass EFI with out password! Everything else does the software.
Read More
MacOS iCloud System PIN Bypass
The LetsUnlock MacOS iCloud System PIN Bypass Tool was designed to bypass iCloud PIN lock on macOS without passcode!
Read More