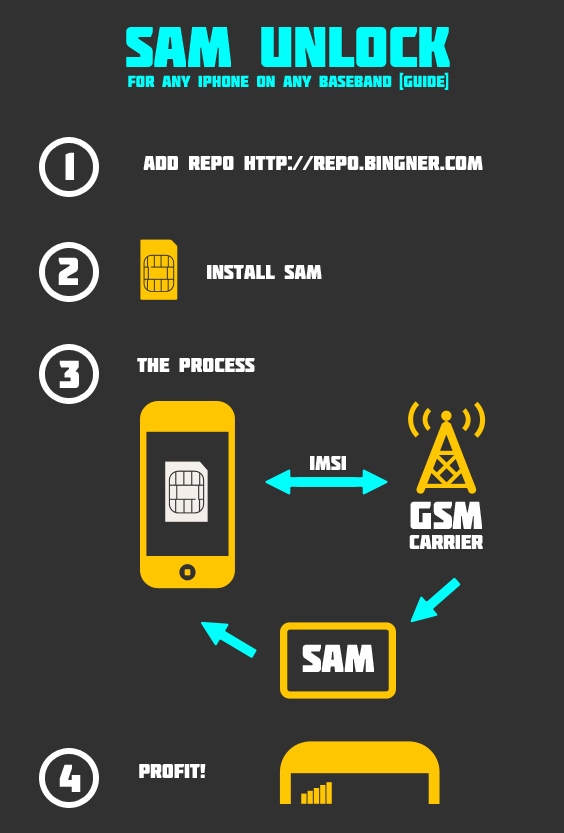
 It very nice to hear because this unlock is one which was waited too long. Now you can unlock even 04.11.08 baseband. No need to wait for R-Sim 4 release. All you need to is to follow my guide.
Note: SAM unlock is not easy so be careful.
Update: There is updated SAM then will unlock your iPhone quicker (Much easier then this!). Just follow this link and there will be no need to messing with activation problems.
Requirements
- Jailbroken iPhone (not listed on any IMEI blacklists)
- Latest version of iTunes
- Your Carrier (which locked iPhone)
- Sim card
How to Unlock Any iPhone Baseband Using SAM
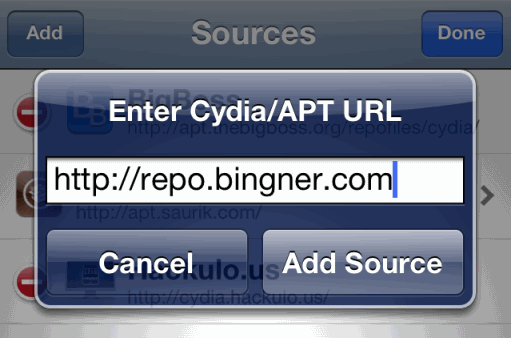
Step 1. Open Cydia => Manage => Sources => Edit => Add this repo:http://repo.bingner.comand tap Add source.
 Step 2. Now insert Sim card if you didn’t do this. Go to Cydia => Manage => Sourcers => Binger. Find SAM and install it on your iPhone
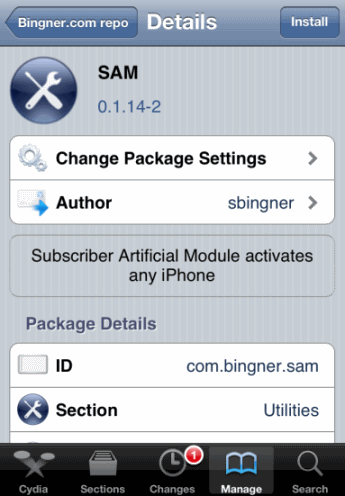 Step 3. Now find on your homescreen SAMPrefs icon and open it.
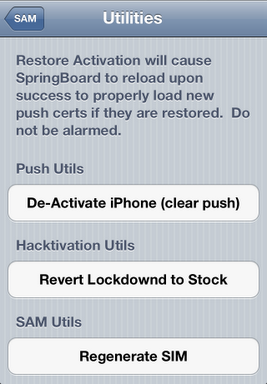
Step 4. Go to the Utilities tab and tap De-Activate iPhone option. Make sure that the iPhone is definitely de-activated go back to the main settings menu and enter in the More Information tab. Check out the Activation State label and it should show as Unactivated.
Step 5. Go to the main setting menu again and find Method tab where you need to choose your country and carrier in By Country and Carrier option.
Note: If you use more than one network ID then you need to select the SIM ID option. Also there is information that you can use Auto Detect method.
Step 6. After choosing your country and carrier go to More information Tab and copy IMSI number (in the SAM Details section) and save it somewhere.
Note: If you can't find IMSI number then use my full list of IMSI numbers and find it.
Step 7. Tab “Spoof Real SIM to SAM”
Step 8. Go to main SAM screen find Method tab and select Manual where you need to paste your IMSI number saved in Step 6.
Step 9. Use USB to link iPhone to the computer and use iTunes to re-activate your iPhone. After re-activation, double click the Phone number label found in the details pane and make sure that ICCID matches that found on the Sim card.
Note: If numbers do not match then start SAM unlock again.

 Step 10. Unplug your iPhone, return to SAMPrefs and disable SAM by sliding the Enabled button to the off position. Now re-connect your iPhone to iTunes and don't be concerned if any kind of error signals appear notifying you that the iPhone can't be activated. Just neglect these messages and reboot iTunes several times.
Step 11. Wait a few minutes and you will see signal bars on iPhone.
That’s it. Now your iPhone is unlocked and you can enjoy it. If you find that your push notification isn’t working then go to SAM and select Clear Push followed by re-connecting iPhone to iTunes.
 As I told before you could use your unlocked iPhone only with Sim card used during unlocking process. So if you want to use other Sim card then repeat unlocking process.
Now I can tell you that you have successfully performed iPhone unlock using SAM for any baseband on any iPhone. Leave your comments about SAM unlock and ask your questions and I will give the answer.
UPDATE: If you want to save SAM activation ticket manual or just download redsn0w 0.9.10b8 to save them automatically.
 Recent Blog
Ultimate Guide: How to turn Off Restricted Mode on iPhone?

Automate Apple GSX check result obtaining?

iRemove Unlock iPhone 5S, 5C, 5, SE, 4S/4 Software
MacOS High Sierra Features: Set Up Websites in Safari on Mac
How to Enable iOS 11 Mail Reply Notification on iPhone 7
How to Bypass Apple Watch Passcode Problem
LetsUnlock Services List
iPhone & iPad Activation Lock Bypass
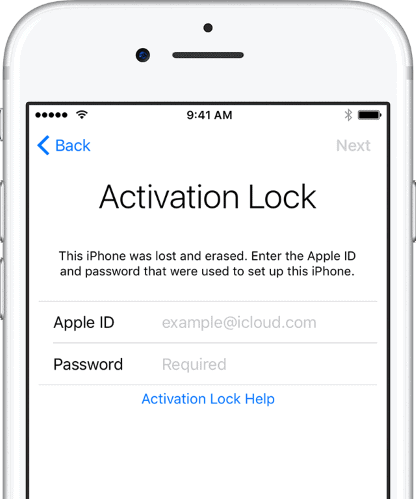
Use LetsUnlock iCloud Tool to bypass Activation Lock Screen on iPhone and iPad running on iOS version up to 14.6.
Read More
Unlock Passcode Disabled iPhone or iPad
LetsUnlock iCloud Tool is ready to remove Find My and unlock your passcode disable device running on iOS 13.x.x in one click!
Read More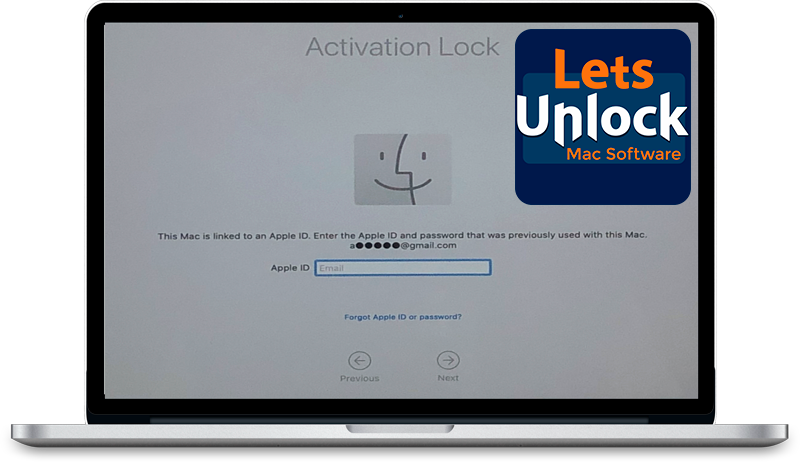
MacOS iCloud Activation Lock Bypass
The LetsUnlock Mac iCloud Activation Lock Bypass Tool will help you to remove Activation Lock on an iCloud locked Mac which is stuck on Activation Lock Screen with no need to enter the correct Apple ID and password.
Read More
Mac EFI Firmware Passcode Bypass
The LetsUnlock EFI Bypass Tool is a one button solution, which you click to start the EFI Unlock process. Bypass EFI with out password! Everything else does the software.
Read More
MacOS iCloud System PIN Bypass
The LetsUnlock MacOS iCloud System PIN Bypass Tool was designed to bypass iCloud PIN lock on macOS without passcode!
Read More