How To Downgrade iOS 9 Beta To iOS 8.4 On Your iOS device
Note: This tutorial could be used for both Public Beta release and developer Beta builds of iOS 9. Step 1: First you need to download the iOS 8.4 firmware file suitable for your device. Step 2: Download and then install iTunes 12.2 on your PC or Mac from: apple.com/itunes. Step 3: Disable Find My iPhone on your device by navigating to Settings > iCloud > Find My iPhone. Step 4: Now open iTunes and using the supplied USB cable connect your device to a PC or Mac. Step 5: Enter DFU mode. For this you need to press and hold the Home/Touch ID and Power buttons on your device together. After approximately nine-ten seconds release the Power button but continue to hold the Home/Touch ID button till iTunes provides a popup informing you that a device has been discovered in Recovery Mode. Step 6: Next tap on the ‘Restore iPhone’ button while holding down the ‘Option’ key in case you’re on a Mac, or the left ‘Shift’ key if you’re on Windows.
Step 7: When prompted, point iTunes to iOS 8.4 firmware file you downloaded in step 1 for the downgrade/Restore process to begin.
As the last stage of downgrade iOS 9 beta to iOS 8 process may take some time sit back and wait till iTunes and the Apple authentication servers will finish their work. The end result will be a fully restored iOS device running stable iOS 8.4.
 Recent Blog
Ultimate Guide: How to turn Off Restricted Mode on iPhone?

Automate Apple GSX check result obtaining?

iRemove Unlock iPhone 5S, 5C, 5, SE, 4S/4 Software

MacOS High Sierra Features: Set Up Websites in Safari on Mac
How to Enable iOS 11 Mail Reply Notification on iPhone 7
How to Bypass Apple Watch Passcode Problem
LetsUnlock Services List
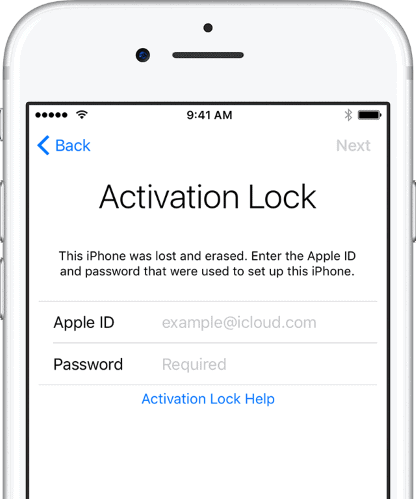
iPhone & iPad Activation Lock Bypass
Use LetsUnlock iCloud Tool to bypass Activation Lock Screen on iPhone and iPad running on iOS version up to 14.6.
Read More
Unlock Passcode Disabled iPhone or iPad
LetsUnlock iCloud Tool is ready to remove Find My and unlock your passcode disable device running on iOS 13.x.x in one click!
Read More
MacOS iCloud Activation Lock Bypass
The LetsUnlock Mac iCloud Activation Lock Bypass Tool will help you to remove Activation Lock on an iCloud locked Mac which is stuck on Activation Lock Screen with no need to enter the correct Apple ID and password.
Read More
Mac EFI Firmware Passcode Bypass
The LetsUnlock EFI Bypass Tool is a one button solution, which you click to start the EFI Unlock process. Bypass EFI with out password! Everything else does the software.
Read More
MacOS iCloud System PIN Bypass
The LetsUnlock MacOS iCloud System PIN Bypass Tool was designed to bypass iCloud PIN lock on macOS without passcode!
Read More