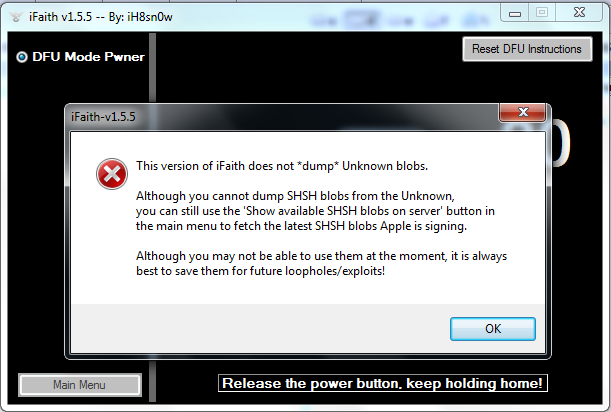
 But there is information from iH8sn0w that soon he will release updated iFaith and we all will be able to use it and for iOS 6.1.3 SHSH blobs as well.
Save SHSH Blobs iPhone Info
Why do you need these blobs anyway? They allow you downgrading to previous versions of Apple mobile firmware that are not signed by the Cupertino-based company. Right now the latest iOS 6.1.3 is signed by Apple, but you can still downgrade from iOS 6.1.3 to earlier software and your saved blobs will be of much help to you here. Downgrading is good for users who want to perform untethered jailbreak after they updated to firmware that cannot be jailbroken yet. Some people use Cydia to achieve their goal while others prefer iFaith. It is interesting to know that Cydia blobs don't work to downgrade iOS 6.1.3 so let's try iFaith to do it. Note: Also you can use iFaith to create custom firmware like in Sn0wbreeze to preserve baseband for unlock. But it is the best to do it on factory unlocked iPhone. Because if you would fail you will lose not only untethered jailbreak but unlock too. In this case the best way is to find out how to unlock iOS 6.1.3 iPhone and experiment with your firmware.How to Save SHSH Blobs Using iFaith [for Windows]
Note: This “save SHSH blobs iOS 6.1.2” instruction is good for iPhone 4 [problems can be faced with the 8GB model] / 3GS [with new bootrom], original iPad, 3rd and 4th gen iPod touch users only. Cydia is still the program for you if you need to save SHSH blobs for iPhone 4S. Step 1. In order to save SHSH blobs iFaith 1.5.5 is required, so download it [it’s best to turn off antivirus program to use it as iFaith might be detected as a Trojan which is a false positive]. Step 2. Connect your iDevice to PC and turn the smartphone off. Step 3. To save SHSH blobs iFaith should be unzipped and launched. Make sure you dump the blobs onto the PC by choosing this option. Step 4. The pop up will remind you what gadgets the program supports. Continue and click on Start. Put the iPhone into DFU mode and wait for approximately 10 minutes till iFaith dumps iOS 6.1.2 SHSH blobs on PC hard drive before you restore iPhone to 6.1.2. Step 5. When step 4 is complete, the program will suggest you to save iOS blobs on the computer. They will be stored on iFaith server but you can also create a folder for them when you are taken back to main menu and choose to press “Build signed IPSW” button. Step 6. Press on “Browse for SHSH blobs cache” and go to the folder with them saved in step 5 once you see an Explorer window. But it will download Cydia blobs which you can't usefor downgrade as was mention above. So you need to use SHSH blobs you save locally or those that end on .ifaith.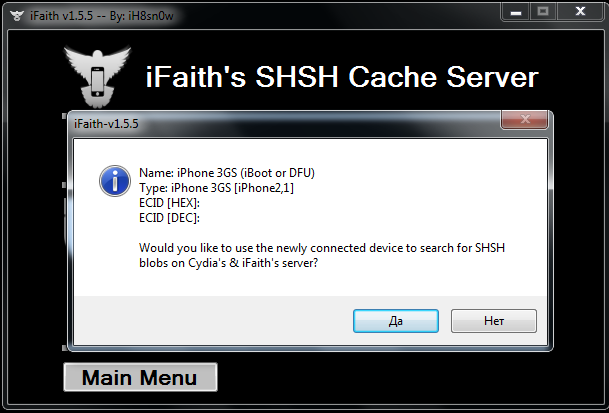 Step 7. The utility will ask you to browse for the stock IPSW for your iOS version. If it is not on the PC you can select the option for iFaith to download it. You can also download iOS 6.1.2 here. Otherwise choose your stock IPSW. Wait till iFaith verifies it and builds the signed custom IPSW which will appear on the desktop.
Step 8. Close iFaith if you don’t need to use the IPSW right away or ask the program to put iPhone into PWN DFU mode and restore the custom firmware with iReb r7, the latest version at the moment. If you will see this message you can continue:
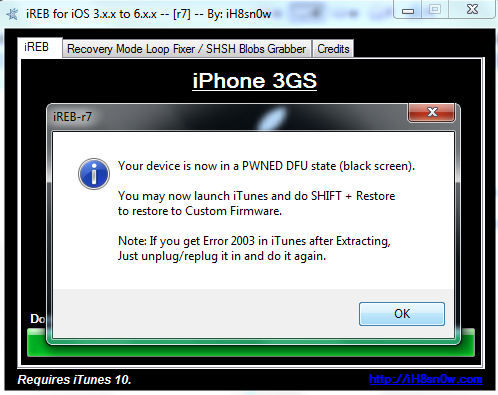 Our iFaith save SHSH blobs guide is complete, but if you need to restore to previous iOS using iReb, you should launch iTunes, click on SHIFT and hold it, choose to restore and browse to your custom IPSW created with the help of our instruction. Click Ok and restore.
Note from the author: As for the 3GS, I successfully created custom firmware using and iOS 6.1.2 firmware and SHSH blobs which were taken from "Browse for SHSH blobs cache" section in iFaith. Then I used iReb r7 to enter DFU and (as shown on the screenshot above) and connected iPhone to iTunes. Holding Shift I clicked Restore and chose custom firmware (I created) from my desktop. Restoring process was successfully completed without any iTunes errors. But after restore my device stuck on Soft DFU mode. I tried different methods to turn back iPhone into the normal mode but i failed. So I decided to wait till iH8sn0w will release the new update of iFaith and I'll try again. You will be the first to find out results so stay tuned.
Update: Now after iH8sn0w released new iFaith 1.5.6 I downgraded iOS 6.1.3 to iOS 5.1.1 because I don't have SHSH blobs saved locally with TinyUmbrella for iOS 6.1.2.
 Recent Blog
Ultimate Guide: How to turn Off Restricted Mode on iPhone?

Automate Apple GSX check result obtaining?

iRemove Unlock iPhone 5S, 5C, 5, SE, 4S/4 Software
MacOS High Sierra Features: Set Up Websites in Safari on Mac
How to Enable iOS 11 Mail Reply Notification on iPhone 7
How to Bypass Apple Watch Passcode Problem
LetsUnlock Services List
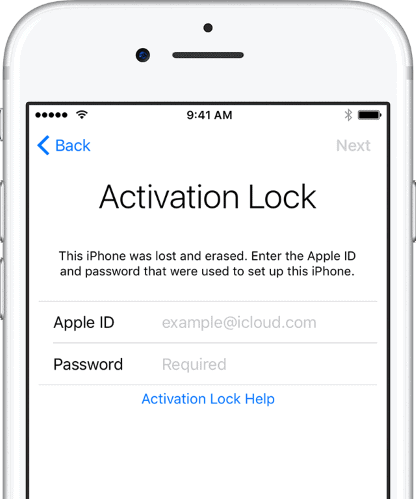
iPhone & iPad Activation Lock Bypass
Use LetsUnlock iCloud Tool to bypass Activation Lock Screen on iPhone and iPad running on iOS version up to 14.6.
Read More
Unlock Passcode Disabled iPhone or iPad
LetsUnlock iCloud Tool is ready to remove Find My and unlock your passcode disable device running on iOS 13.x.x in one click!
Read More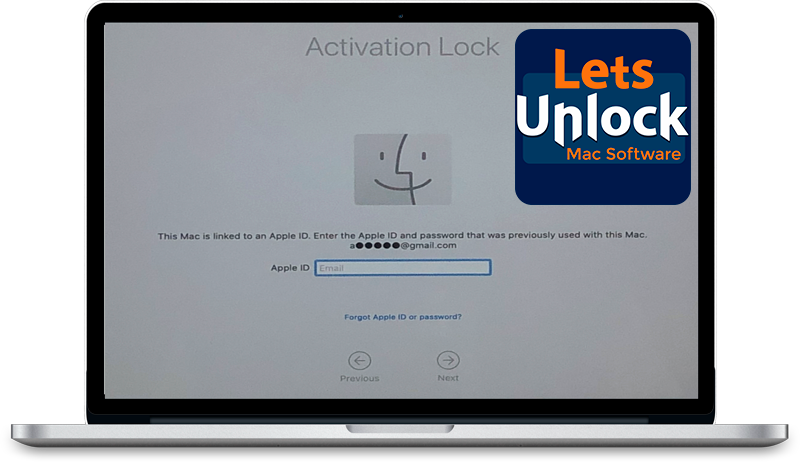
MacOS iCloud Activation Lock Bypass
The LetsUnlock Mac iCloud Activation Lock Bypass Tool will help you to remove Activation Lock on an iCloud locked Mac which is stuck on Activation Lock Screen with no need to enter the correct Apple ID and password.
Read More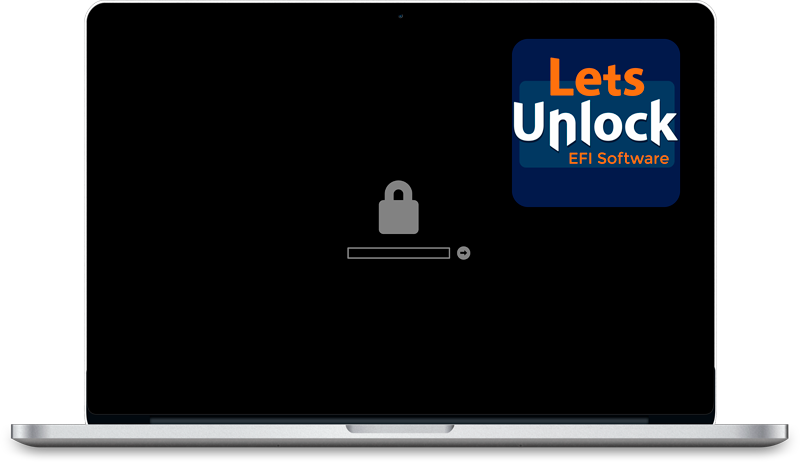
Mac EFI Firmware Passcode Bypass
The LetsUnlock EFI Bypass Tool is a one button solution, which you click to start the EFI Unlock process. Bypass EFI with out password! Everything else does the software.
Read More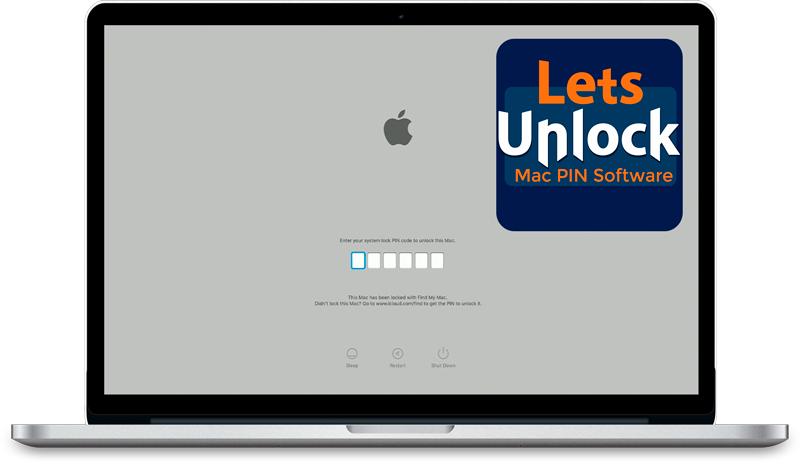
MacOS iCloud System PIN Bypass
The LetsUnlock MacOS iCloud System PIN Bypass Tool was designed to bypass iCloud PIN lock on macOS without passcode!
Read More