
iPhone 7 Tips for Using Portrait Mode with Blur Effect
Even if you have one of the latest ‘fruit’ iDevices, iPhone 7, you will still need to explore new iOS 10.1 features and download one application. Users with older gadgets should do the same thing. The iOS 10 blur background effect is possible with FabFocus camera program. This app brings an amazing DSLR-like blur effect to your photographs making images pretty and modern even on the iPhone 5s [learn how to share your iPhone photos on Instagram]. You know that the iPhone 7 Plus is popular among users because of its unique features. The dual-camera system is one of the reasons why a lot of users are getting this device. Since you can’t install dual-camera on your iPhone 6s, 6s Plus, 6, 5s and even 7 you should search for secrets and tips how to get similar photo effects without it. While the ‘7 Plus’ version users Portraid Mode to add DSLR-like depth and blur effect to captured images you can add similar effects to your photos on other handset models. It is easy to install a similar iPhone 7 portrait mode by updating to iOS 10.1.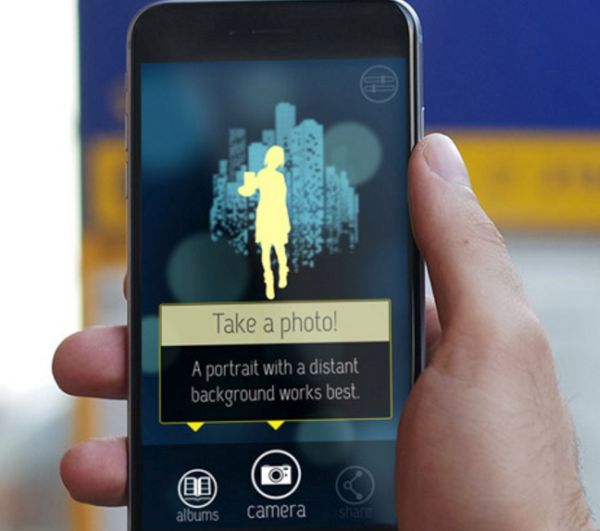
How to Use Portrait Mode on iPhone 6s / 7 / 6
The app you can get from your App Store at $1.99 can add iPhone 7 Plus portrait mode like effect to your pictures. It also allows using your portrait mode on previous phones and enjoy other improvements. Here is how you can install and use this program: Step 1. Download the iPhone blur background effect app called FabFocus. Step 2. Install the application on your iOS 10.1 device (make sure you update your firmware version in case you are using older platform ipsw). Step 3. Launch the new app.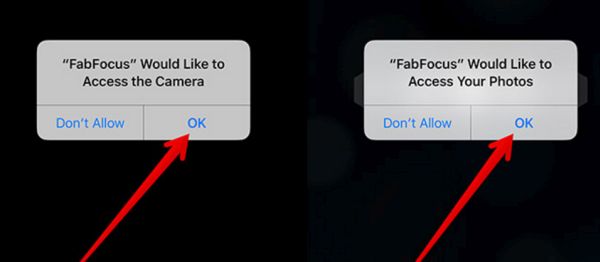 Step 4. The program will ask your permission to access Photos and Camera on the iPhone you own. Allow this.
Step 5. Now you can take a photograph with your mobile device. Just click on your shutter button as you normally do.
Step 4. The program will ask your permission to access Photos and Camera on the iPhone you own. Allow this.
Step 5. Now you can take a photograph with your mobile device. Just click on your shutter button as you normally do.
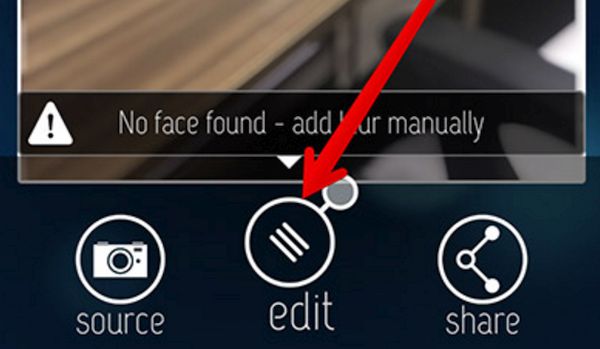
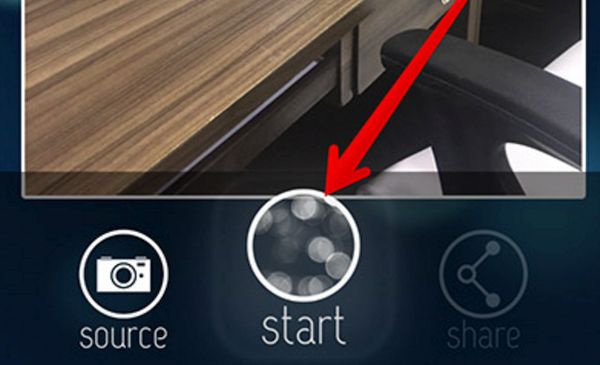 Step 6. To add the blur effect to your photo background you should click on the Start button that is present at the bottom center part of the screen. In case the app cannot find any face on your image it will let you add the effects manually.
Step 7. Once the shot is taken you should click on Edit menu.
Step 6. To add the blur effect to your photo background you should click on the Start button that is present at the bottom center part of the screen. In case the app cannot find any face on your image it will let you add the effects manually.
Step 7. Once the shot is taken you should click on Edit menu.
 Step 8. Use the brush or paint tool to choose areas on your photo to highlight. If you wish to erase that part you should click on eraser option – tick mark. All features and buttons are located at the bottom of the screen.
Step 9. What else can you do? The app makes it easy to adjust the size of the brush and get more editing by clicking on the up-arrow at the lower left part of display. Get back to normal editing window by clicking on the down-arrow.
Step 10. Remember to press the tick mark when you like what you get. This way you’ll apply the new effects to your photo.
Here is how you can add blur effects to your iOS 10.1 photos manually:
Step 1. Open the FabFocus tool.
Step 2. Choose albums and photos you wish to get the blur effects.
Step 3. Manually add the effect by selecting the area of your images.
Step 4. Save the changes by ticking the mark.
That's it. It's a simple way to enjoy some awesome features on olders iPhones.
Step 8. Use the brush or paint tool to choose areas on your photo to highlight. If you wish to erase that part you should click on eraser option – tick mark. All features and buttons are located at the bottom of the screen.
Step 9. What else can you do? The app makes it easy to adjust the size of the brush and get more editing by clicking on the up-arrow at the lower left part of display. Get back to normal editing window by clicking on the down-arrow.
Step 10. Remember to press the tick mark when you like what you get. This way you’ll apply the new effects to your photo.
Here is how you can add blur effects to your iOS 10.1 photos manually:
Step 1. Open the FabFocus tool.
Step 2. Choose albums and photos you wish to get the blur effects.
Step 3. Manually add the effect by selecting the area of your images.
Step 4. Save the changes by ticking the mark.
That's it. It's a simple way to enjoy some awesome features on olders iPhones. Recent Blog
Ultimate Guide: How to turn Off Restricted Mode on iPhone?

Automate Apple GSX check result obtaining?
iRemove Unlock iPhone 5S, 5C, 5, SE, 4S/4 Software
MacOS High Sierra Features: Set Up Websites in Safari on Mac
How to Enable iOS 11 Mail Reply Notification on iPhone 7

How to Bypass Apple Watch Passcode Problem
LetsUnlock Services List
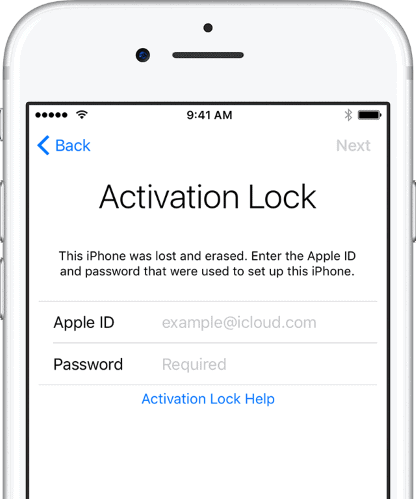
iPhone & iPad Activation Lock Bypass
Use LetsUnlock iCloud Tool to bypass Activation Lock Screen on iPhone and iPad running on iOS version up to 14.6.
Read More
Unlock Passcode Disabled iPhone or iPad
LetsUnlock iCloud Tool is ready to remove Find My and unlock your passcode disable device running on iOS 13.x.x in one click!
Read More
MacOS iCloud Activation Lock Bypass
The LetsUnlock Mac iCloud Activation Lock Bypass Tool will help you to remove Activation Lock on an iCloud locked Mac which is stuck on Activation Lock Screen with no need to enter the correct Apple ID and password.
Read More
Mac EFI Firmware Passcode Bypass
The LetsUnlock EFI Bypass Tool is a one button solution, which you click to start the EFI Unlock process. Bypass EFI with out password! Everything else does the software.
Read More
MacOS iCloud System PIN Bypass
The LetsUnlock MacOS iCloud System PIN Bypass Tool was designed to bypass iCloud PIN lock on macOS without passcode!
Read More