Some iPhone 4 owners are not satisfied with the iOS 7 released by Apple in fall 2013. If you are using Windows PC and your iOS 6.1.3 SHSH blobs [6.1.2 or earlier version of firmware] are saved you are able to downgrade iOS 7 to iOS 6 [iPhone 4 users only]. The instruction is useless if you don’t have your blobs saved or own a different iPhone model.
Unfortunately for iPhone 4S / 5 users, it is impossible to downgrade to iOS 6 once you have upgraded to iOS 7.0.3. You are stuck while iPhone 4 owners are lucky as they still have a way back. Step 1. Back up your iPhone 4. This is a very important step as it will give you a way to save your content in case anything goes wrong.
Step 2. Download iTunes 11.0.5 or previous versions. The newer updates will not work such as iTunes 11.1 and later. You should uninstall your program if it is too new and get 11.0.5 using www.oldapps.com site.
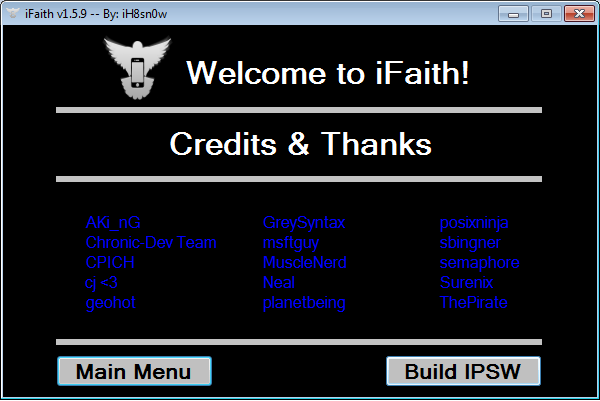
Step 3. Get iFaith here. It comes as zip file so unzip what you get.
Step 4. Plug in iPhone 4 to Windows PC.
 Step 5. iFaith can help you locate your SHSH blob if you don’t remember where it is or haven’t saved it. Launch the program and press Ok – Show Available SHSH Caches on Server. Press Yes. Select Show list of available SHSH blobs on TSS server. The application will eagerly show you the list of all available blobs. Choose the one you wish to use and close iFaith. Users who know where to look for the blobs without this program can proceed to the next step and skip this one.
 Step 6. Launch iFaith. You will see Build signed IPSW w/ blobs option. Choose it and Browse for SHSH blobs. Point to the blobs you wish to use.
 Step 7. To get the iOS file you can simply click Download it for me feature and start Building IPSW. Remember your IPSW file name after this procedure is complete. Press OK to proceed.
 Step 8. You have to enter DFU mode on your smartphone by pressing on Sleep / Wake button and sliding to turn it off.
Step 9. Choose Start in iFaith. The app will show you detailed guide on how to enter DFU mode. You must press/hold the Sleep / Wake button along with Home button for about 10 seconds. They you need to let the Sleep / Wake button off but continue pressing on the Home button for about 30 seconds. Just go with the instructions till iFaith notifies that your handset is in DFU state. Press OK and close iFaith program.
Step 10. Open iTunes v.11.0.5 and let it find your iOS smartphone in Recovery mode. Once it has done so press OK.
Step 11. While pressing on SHIFT click Restore iPhone option [you can find it in Summary].
Step 12. Point to your IPSW file.
Step 13. When restore is complete you can set up the handset and enjoy using iOS 6 again.
 Recent Blog
Ultimate Guide: How to turn Off Restricted Mode on iPhone?

Automate Apple GSX check result obtaining?

iRemove Unlock iPhone 5S, 5C, 5, SE, 4S/4 Software

MacOS High Sierra Features: Set Up Websites in Safari on Mac
How to Enable iOS 11 Mail Reply Notification on iPhone 7
How to Bypass Apple Watch Passcode Problem
LetsUnlock Services List
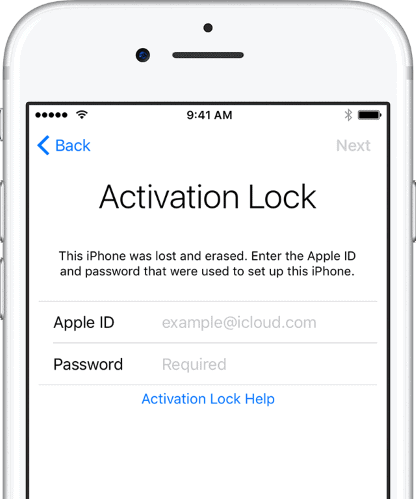
iPhone & iPad Activation Lock Bypass
Use LetsUnlock iCloud Tool to bypass Activation Lock Screen on iPhone and iPad running on iOS version up to 14.6.
Read More
Unlock Passcode Disabled iPhone or iPad
LetsUnlock iCloud Tool is ready to remove Find My and unlock your passcode disable device running on iOS 13.x.x in one click!
Read More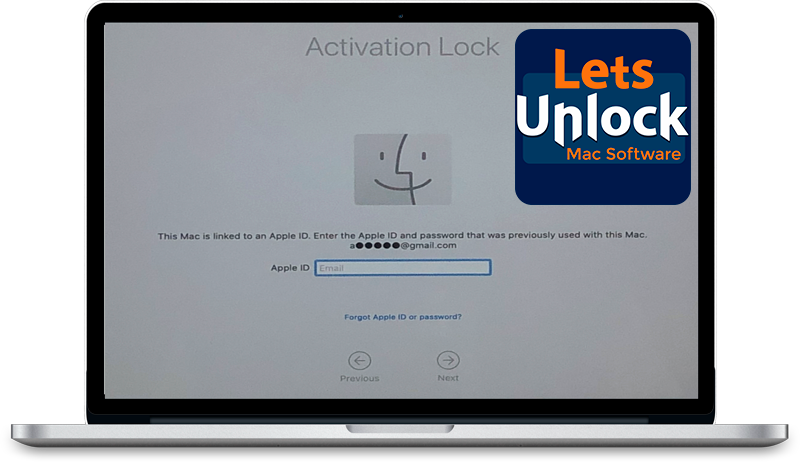
MacOS iCloud Activation Lock Bypass
The LetsUnlock Mac iCloud Activation Lock Bypass Tool will help you to remove Activation Lock on an iCloud locked Mac which is stuck on Activation Lock Screen with no need to enter the correct Apple ID and password.
Read More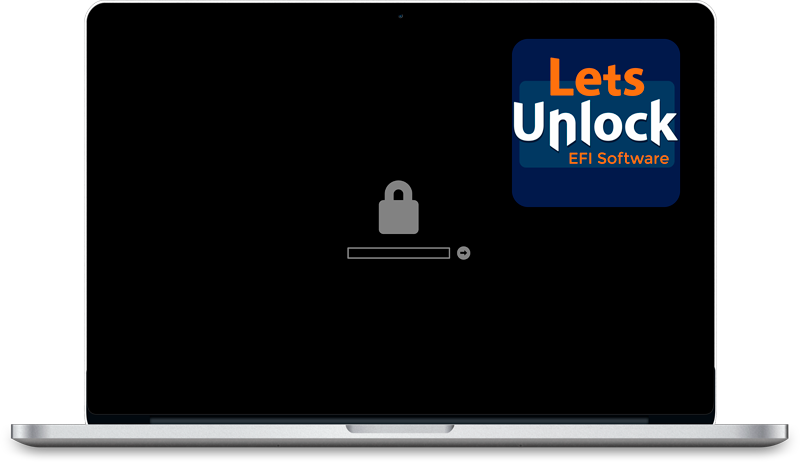
Mac EFI Firmware Passcode Bypass
The LetsUnlock EFI Bypass Tool is a one button solution, which you click to start the EFI Unlock process. Bypass EFI with out password! Everything else does the software.
Read More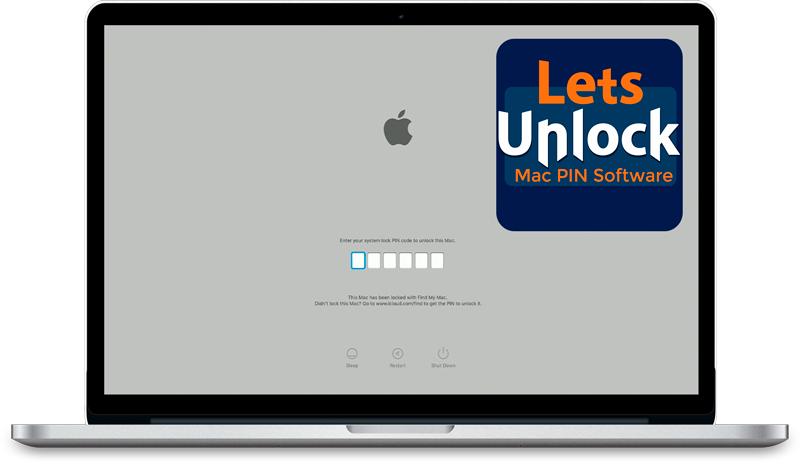
MacOS iCloud System PIN Bypass
The LetsUnlock MacOS iCloud System PIN Bypass Tool was designed to bypass iCloud PIN lock on macOS without passcode!
Read More