
To install and enable SSH on iPhone you need to:
Step One: Jailbreak your device Step Two: Run Cydia and find OpenSSH and install it Step Three: Go back to Cydia Step Four: Download and install WinSCP client if you're on Windows (link) Step Five: Launch WinSCP Step Six: On your iPhone go to Wi-Fi settings, choose your current Wi-Fi connection, go to details and look for IP address Step Seven: Go to WinSCP and put that IP address to Host Name field Step Eight: In User name field type in 'root' and in Password field type in your 'alpine' SSH password (if you didn't change SSH root password) Step Nine: Click Login button. The server will run Step Ten: You'll see the window divided in two (like in Total Commander on Windows or Midnight Commander on Linux)
Recent Blog
Ultimate Guide: How to turn Off Restricted Mode on iPhone?

Automate Apple GSX check result obtaining?
iRemove Unlock iPhone 5S, 5C, 5, SE, 4S/4 Software

MacOS High Sierra Features: Set Up Websites in Safari on Mac
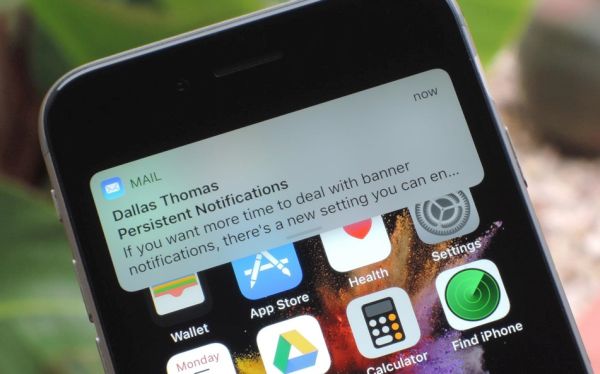
How to Enable iOS 11 Mail Reply Notification on iPhone 7

How to Bypass Apple Watch Passcode Problem
LetsUnlock Services List
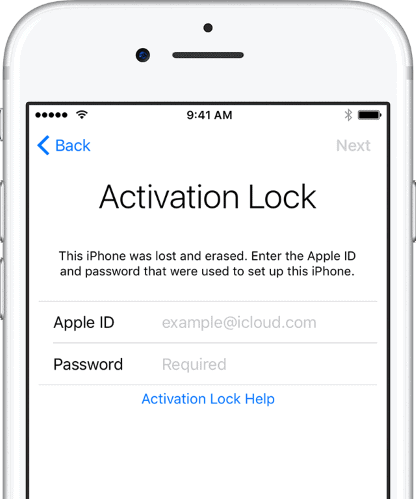
iPhone & iPad Activation Lock Bypass
Use LetsUnlock iCloud Tool to bypass Activation Lock Screen on iPhone and iPad running on iOS version up to 14.6.
Read More
Unlock Passcode Disabled iPhone or iPad
LetsUnlock iCloud Tool is ready to remove Find My and unlock your passcode disable device running on iOS 13.x.x in one click!
Read More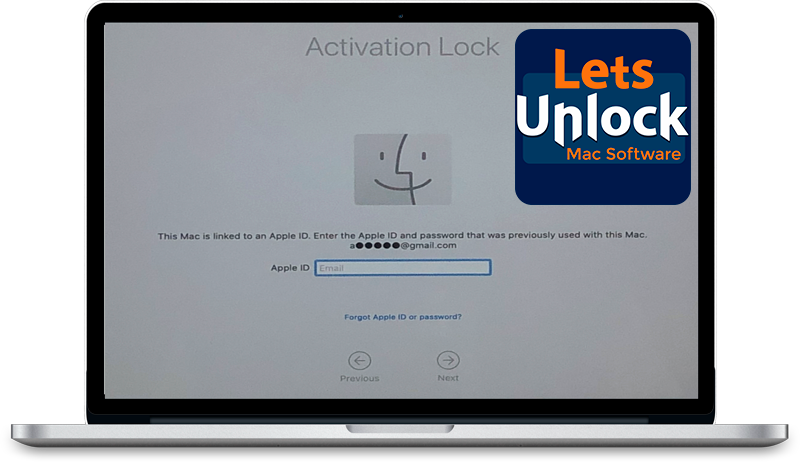
MacOS iCloud Activation Lock Bypass
The LetsUnlock Mac iCloud Activation Lock Bypass Tool will help you to remove Activation Lock on an iCloud locked Mac which is stuck on Activation Lock Screen with no need to enter the correct Apple ID and password.
Read More
Mac EFI Firmware Passcode Bypass
The LetsUnlock EFI Bypass Tool is a one button solution, which you click to start the EFI Unlock process. Bypass EFI with out password! Everything else does the software.
Read More
MacOS iCloud System PIN Bypass
The LetsUnlock MacOS iCloud System PIN Bypass Tool was designed to bypass iCloud PIN lock on macOS without passcode!
Read More