Change Apple Email Address
Each Apple ID is always associated with one email address. It is comfortable however one day you might want to change your Apple ID email. Is it possible to easily perform on iOS 10.3 or not? Let’s explore some useful iOS 10.3 tips and tricks related to your ‘fruit’ account. Previous anyone who wished to replace the main email that was associated with his or her ID had to visit special web-page created by Apple and complete this task. With iOS 10.3 update everything has been simplified. You can now change everything on your own, directly on the iPhone or iPad.
How to Change Email for Apple ID on iPhone
Before we share the step-by-step guide on adding changes to your iOS 10.3 Apple ID let’s discuss one question. Why would you need to add such changes? There could be different reasons for this to happen. Maybe you stopped using the old address which is still links to your account and wish to update your information. Maybe you just want to switch to the email you are using every day instead of a mail box you are checking once or twice a month. Here is what you have to do.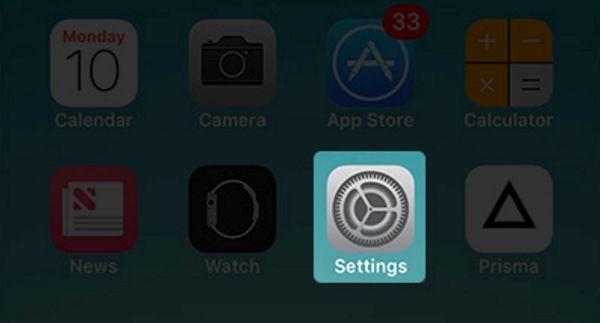 Step 1. We’ll start our ios 10 tricks and tips with Setting app on your iPhone.
Step 2. Now choose your profile to continue.
Step 1. We’ll start our ios 10 tricks and tips with Setting app on your iPhone.
Step 2. Now choose your profile to continue.
 Step 3. Click on the Name, Phone Numbers, Email option.
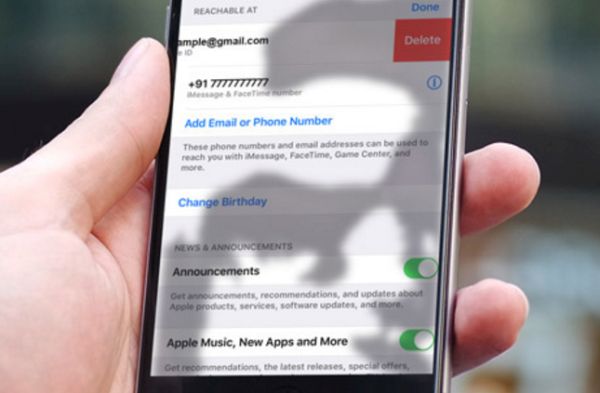
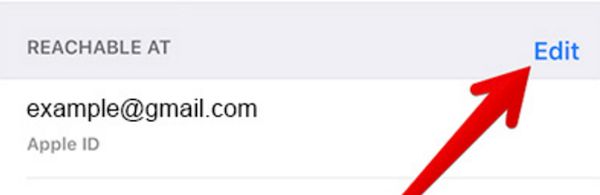 Step 4. You can now Edit your information.
 Step 5. There is a red button you have to press before you can choose Delete option.
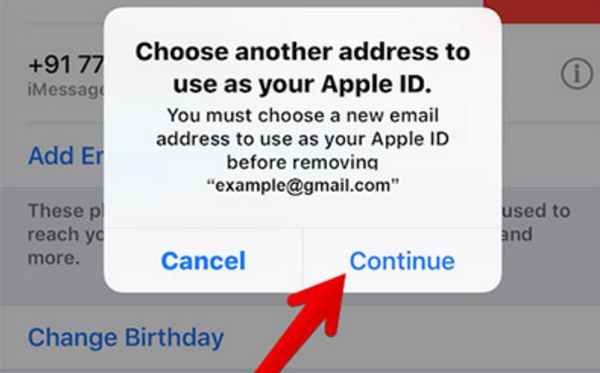 Step 6. Click on Continue. You’ll see the instructions for adding another email address. There could be some security questions.
Step 7. Once you type in the new Apple ID email you’ll have to check it because there should be a new letter with a verification code you have to use for verification.
Step 8. Type in this code.
Step 9. Verify the new address.
Step 10. Before you sign off you should decide whether you want to get various recommendations and announcements from Apple or not. If you are not a fan of such news you should disable several switches. Turn off Apple Music, Apple News Updates and other Announcements you’ll see.
Step 6. Click on Continue. You’ll see the instructions for adding another email address. There could be some security questions.
Step 7. Once you type in the new Apple ID email you’ll have to check it because there should be a new letter with a verification code you have to use for verification.
Step 8. Type in this code.
Step 9. Verify the new address.
Step 10. Before you sign off you should decide whether you want to get various recommendations and announcements from Apple or not. If you are not a fan of such news you should disable several switches. Turn off Apple Music, Apple News Updates and other Announcements you’ll see.
 P.S. While you shouldn’t get any Apple ID not valid email address message once you perform the steps described above, there is one important thing you must keep in mind. As soon as you change the email address for your account you’ll have to use it for signing into any other Apple service.
This is a great improvement added to iOS 10 platform. Ability to quickly add a new email instead of an old one to associate with your ID is a great idea. There are other useful features as well. For example, users can add other changes such as their birthday, physical address and even their name.
P.S. While you shouldn’t get any Apple ID not valid email address message once you perform the steps described above, there is one important thing you must keep in mind. As soon as you change the email address for your account you’ll have to use it for signing into any other Apple service.
This is a great improvement added to iOS 10 platform. Ability to quickly add a new email instead of an old one to associate with your ID is a great idea. There are other useful features as well. For example, users can add other changes such as their birthday, physical address and even their name. Recent Blog
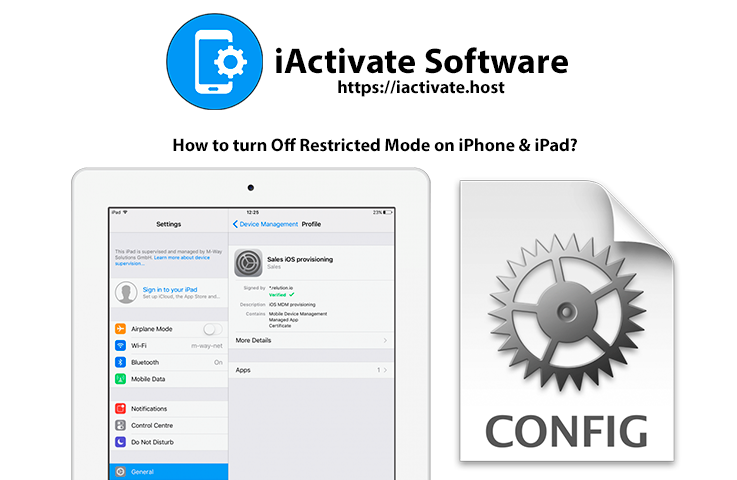
Ultimate Guide: How to turn Off Restricted Mode on iPhone?

Automate Apple GSX check result obtaining?
iRemove Unlock iPhone 5S, 5C, 5, SE, 4S/4 Software
MacOS High Sierra Features: Set Up Websites in Safari on Mac
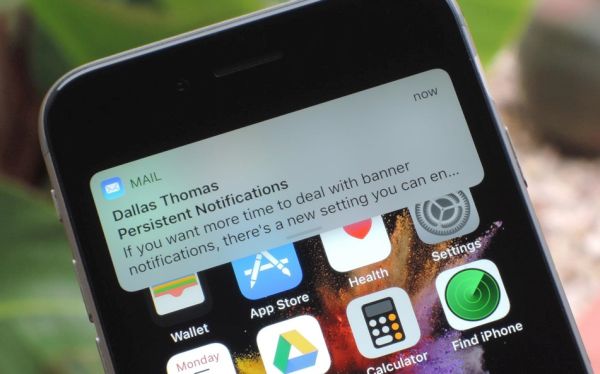
How to Enable iOS 11 Mail Reply Notification on iPhone 7

How to Bypass Apple Watch Passcode Problem
LetsUnlock Services List
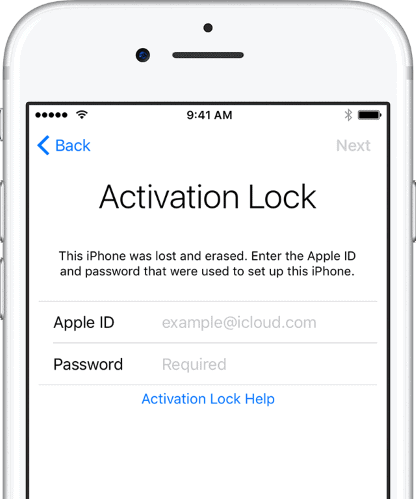
iPhone & iPad Activation Lock Bypass
Use LetsUnlock iCloud Tool to bypass Activation Lock Screen on iPhone and iPad running on iOS version up to 14.6.
Read More
Unlock Passcode Disabled iPhone or iPad
LetsUnlock iCloud Tool is ready to remove Find My and unlock your passcode disable device running on iOS 13.x.x in one click!
Read More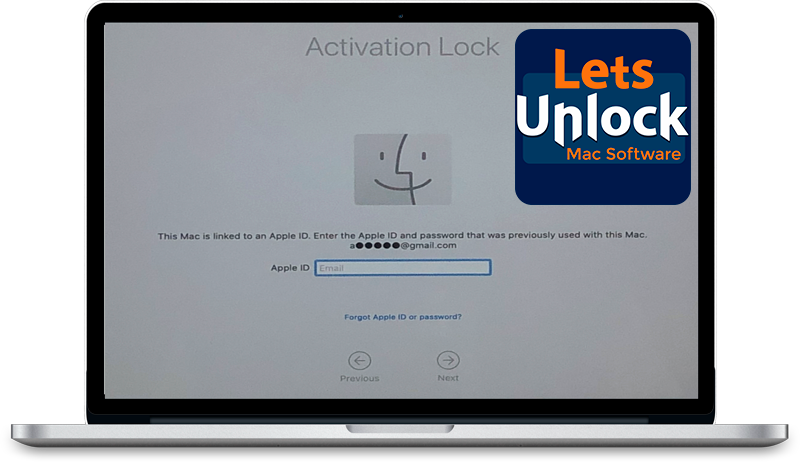
MacOS iCloud Activation Lock Bypass
The LetsUnlock Mac iCloud Activation Lock Bypass Tool will help you to remove Activation Lock on an iCloud locked Mac which is stuck on Activation Lock Screen with no need to enter the correct Apple ID and password.
Read More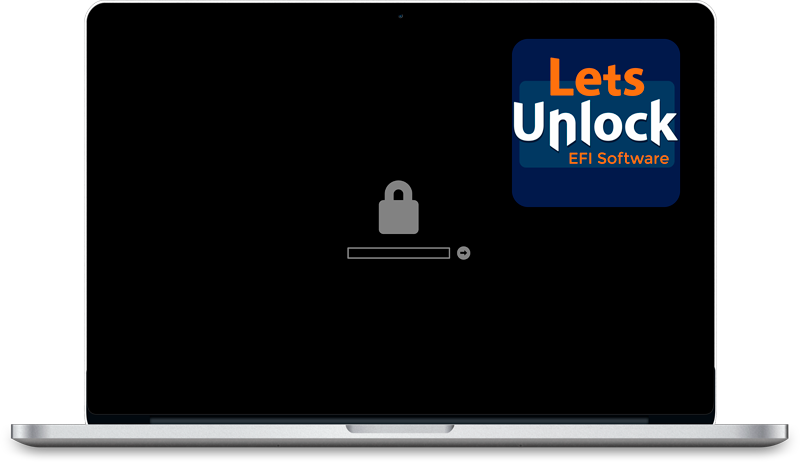
Mac EFI Firmware Passcode Bypass
The LetsUnlock EFI Bypass Tool is a one button solution, which you click to start the EFI Unlock process. Bypass EFI with out password! Everything else does the software.
Read More
MacOS iCloud System PIN Bypass
The LetsUnlock MacOS iCloud System PIN Bypass Tool was designed to bypass iCloud PIN lock on macOS without passcode!
Read More