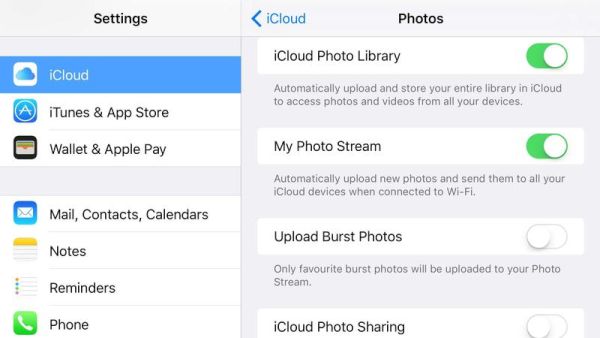
 Secondly, you can import photos from iPhone to Mac via WiFi connection. This is great on-the-go when there is no USB cable around you. iCloud can help you get and automatically move files from handset to computer through WiFi network and also delete images from iPhone if you need.
Thirdly, it is possible to move photos from iOS 9 iPhone to Mac via Image Capture program. To do so, connect the smartphone to your computer and open this desktop program. Select the ones you wish to import or use Import All option to get all the pictures at once.
Secondly, you can import photos from iPhone to Mac via WiFi connection. This is great on-the-go when there is no USB cable around you. iCloud can help you get and automatically move files from handset to computer through WiFi network and also delete images from iPhone if you need.
Thirdly, it is possible to move photos from iOS 9 iPhone to Mac via Image Capture program. To do so, connect the smartphone to your computer and open this desktop program. Select the ones you wish to import or use Import All option to get all the pictures at once.
 Besides there are other great options for transferring pics from iPhone to Mac. For example, you can email them or send via iMessage. This way you’ll only need to copy your attachment to the device where you need the photos. iCloud Photo Library [it is possible to recover deleted iPhone photos using iCloud backup] or AirDrop can also let you get iPhone photos and images saved on your Mac. Any method helps to do what you want. Choose it depending on your circumstances.
Sometimes it is faster to use USB cable and sometimes WiFi connection makes your day. Additional programs are also must-have just in case the first two conditions can’t be met by you and you really need the images right here right now.
Besides there are other great options for transferring pics from iPhone to Mac. For example, you can email them or send via iMessage. This way you’ll only need to copy your attachment to the device where you need the photos. iCloud Photo Library [it is possible to recover deleted iPhone photos using iCloud backup] or AirDrop can also let you get iPhone photos and images saved on your Mac. Any method helps to do what you want. Choose it depending on your circumstances.
Sometimes it is faster to use USB cable and sometimes WiFi connection makes your day. Additional programs are also must-have just in case the first two conditions can’t be met by you and you really need the images right here right now. Recent Blog
Ultimate Guide: How to turn Off Restricted Mode on iPhone?

Automate Apple GSX check result obtaining?
iRemove Unlock iPhone 5S, 5C, 5, SE, 4S/4 Software

MacOS High Sierra Features: Set Up Websites in Safari on Mac

How to Enable iOS 11 Mail Reply Notification on iPhone 7

How to Bypass Apple Watch Passcode Problem
LetsUnlock Services List
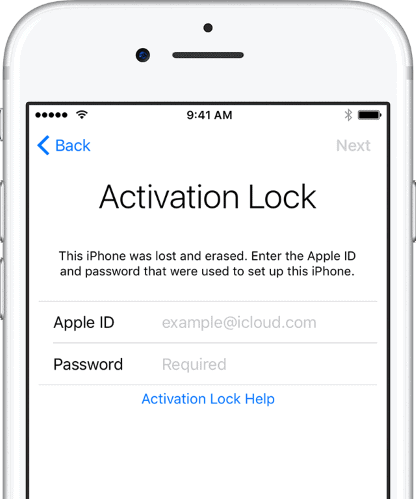
iPhone & iPad Activation Lock Bypass
Use LetsUnlock iCloud Tool to bypass Activation Lock Screen on iPhone and iPad running on iOS version up to 14.6.
Read More
Unlock Passcode Disabled iPhone or iPad
LetsUnlock iCloud Tool is ready to remove Find My and unlock your passcode disable device running on iOS 13.x.x in one click!
Read More
MacOS iCloud Activation Lock Bypass
The LetsUnlock Mac iCloud Activation Lock Bypass Tool will help you to remove Activation Lock on an iCloud locked Mac which is stuck on Activation Lock Screen with no need to enter the correct Apple ID and password.
Read More
Mac EFI Firmware Passcode Bypass
The LetsUnlock EFI Bypass Tool is a one button solution, which you click to start the EFI Unlock process. Bypass EFI with out password! Everything else does the software.
Read More
MacOS iCloud System PIN Bypass
The LetsUnlock MacOS iCloud System PIN Bypass Tool was designed to bypass iCloud PIN lock on macOS without passcode!
Read More